First published on Wordpress in January 2022.
Wow! This has been a mammoth effort by the installers. Originally it was planned that the retrofit would happen in two phases:
Wow! This has been a mammoth effort by the installers. Originally it was planned that the retrofit would happen in two phases:
- the solar panels and battery in January, and
- the heat pump and hot water cylinder in February.
As it turned out, everything went in at once in January in six days spread over a fortnight or so.
Solar panels
First up, the scaffolding was erected. If you are also having solar panels, be aware that additional scaffolding is required if you are having bird prevention mesh fitted around them, to allow the roofers to get right to the top edges. The bird protection stops birds (mainly pigeons) from roosting and nesting under the panels). The scaffolders were pretty quick to get everything up and ready, and maintained good access around the house.
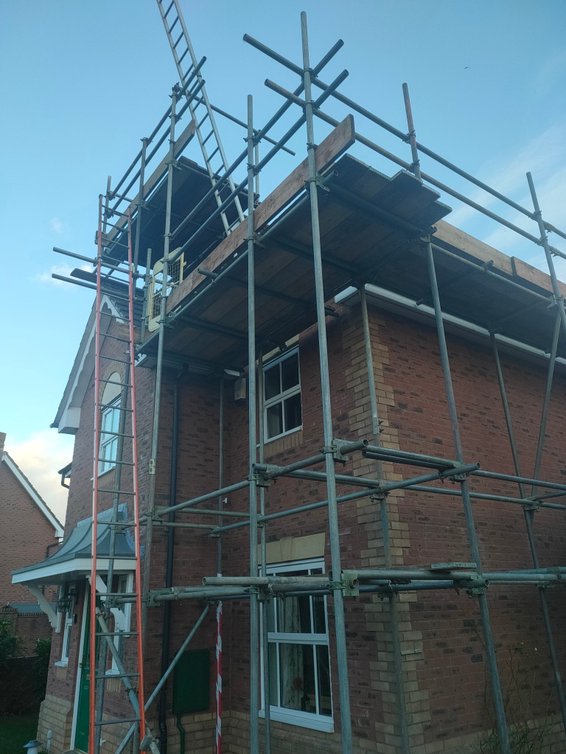
The panels were put up over two days neither of which was particularly pleasant for the roofers: both involved cold rain.
The panels look much smarter than we were expecting and we look forward to generating our own power.

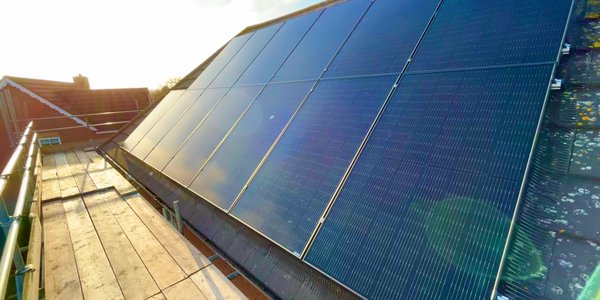
Design changes have meant that a replacement (larger) inverter is required to handle the number of panels on one of our roof surfaces compared to the original specification.
Home battery and Zappi
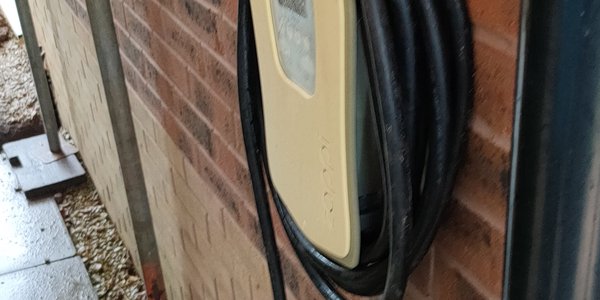
The old Zappi has been installed on the outside garage wall. Its long tether means that we can reach the car, wherever we (or a guest) park the car. It’s a very neat install, inside and outside the garage.
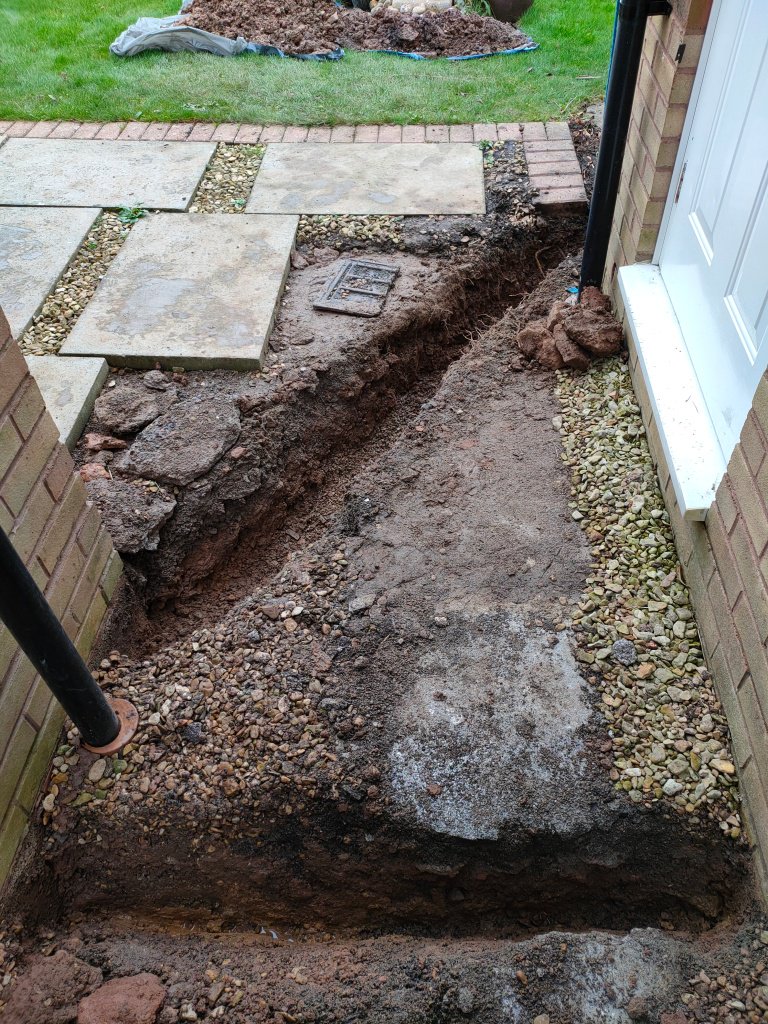
The trenching between the house and garage, and house and heat pump
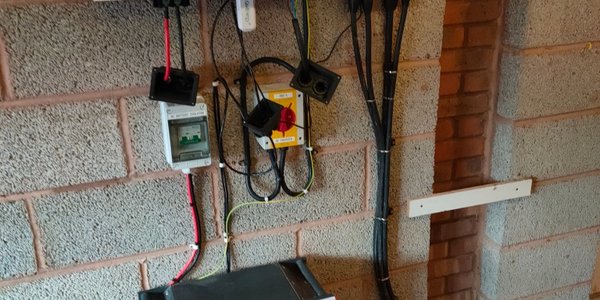
The Givenergy battery has been installed in the garage too. I needed to dig some trenching to accommodate the electrical cabling to and from the house. The battery comprises an inverter (high on the wall in the photo below) and the storage component (on the floor). The fuses are also installed here as well as monitoring equipment to help link the data into mobile apps.
Hot water cylinder
A lot of kit has gone into our airing cupboard. The picture below shows what it looked like when we moved in.
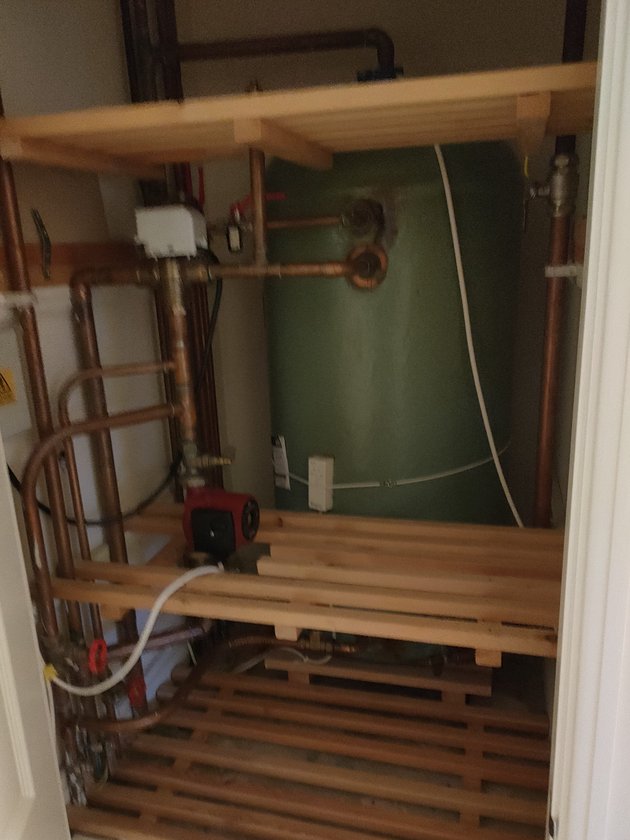
The Mixergy hot water cylinder and pressure tank, heat pump buffer tank and Myenergi Eddi all needed to go in here. The Daikin heat pump controller was also supposed to go in here but we ran out of cupboard wall space so it was installed just outside, in the landing space.

The plumbers did a great job – there was a lot of piping to deal with. Similarly the electricians had a complex install to deal with, especially in getting all this kit to communicate with each other.
Heat pump and radiators
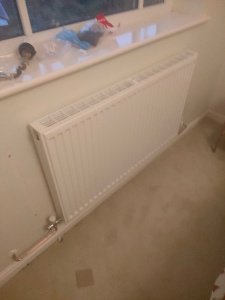
We had agreed that most of our radiators would be up-sized and the plumbers took care of removing the original (mainly single panel) rads and replacing them with K2 units. The kitchen radiator could remain and so did the hall and bathroom rads. The bathroom ones will be replaced when the bathrooms are updated.
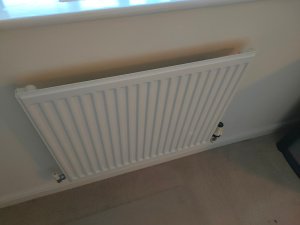
The top image below shows a new radiator compared to what was there before in the lower image.
The top image below shows a new radiator compared to what was there before in the lower image.
I’ll be honest, the heat pump was much larger than we expected… even though we had measured out the dimensions we just hadn’t visualised what it would look like. The plumbers laid out the pipework in the trench I had dug, and the electrician then wired up the cabling. The water pipes were punched into our old utility room (where the gas boiler had been) and attached to the existing 28 mm pipes.
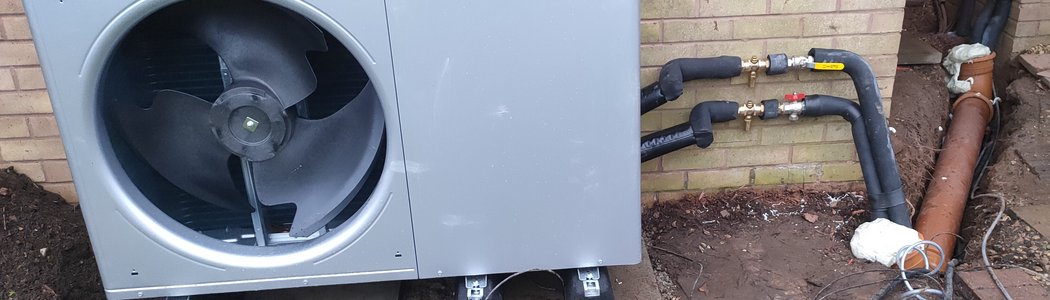
Monobloc heat pump, mid installation and prior to the grille being fitted
In summary
This was a complex install, in a short amount of time, with a lot of challenges. And it was hampered by Covid requiring some of the key people to isolate for most of the main installation. The weather was generally very cold and very wet in parts, so kudos to all the installers. We have been massively impressed with Ecobubl who designed, managed and finalised the retrofit, but also the subcontractors they chose: Ecosolve Renewables, Dave Naughton, CHRoofing and LH Roofing. Everyone was polite and tidy, happy to explain what they were doing, quiet and diligent.