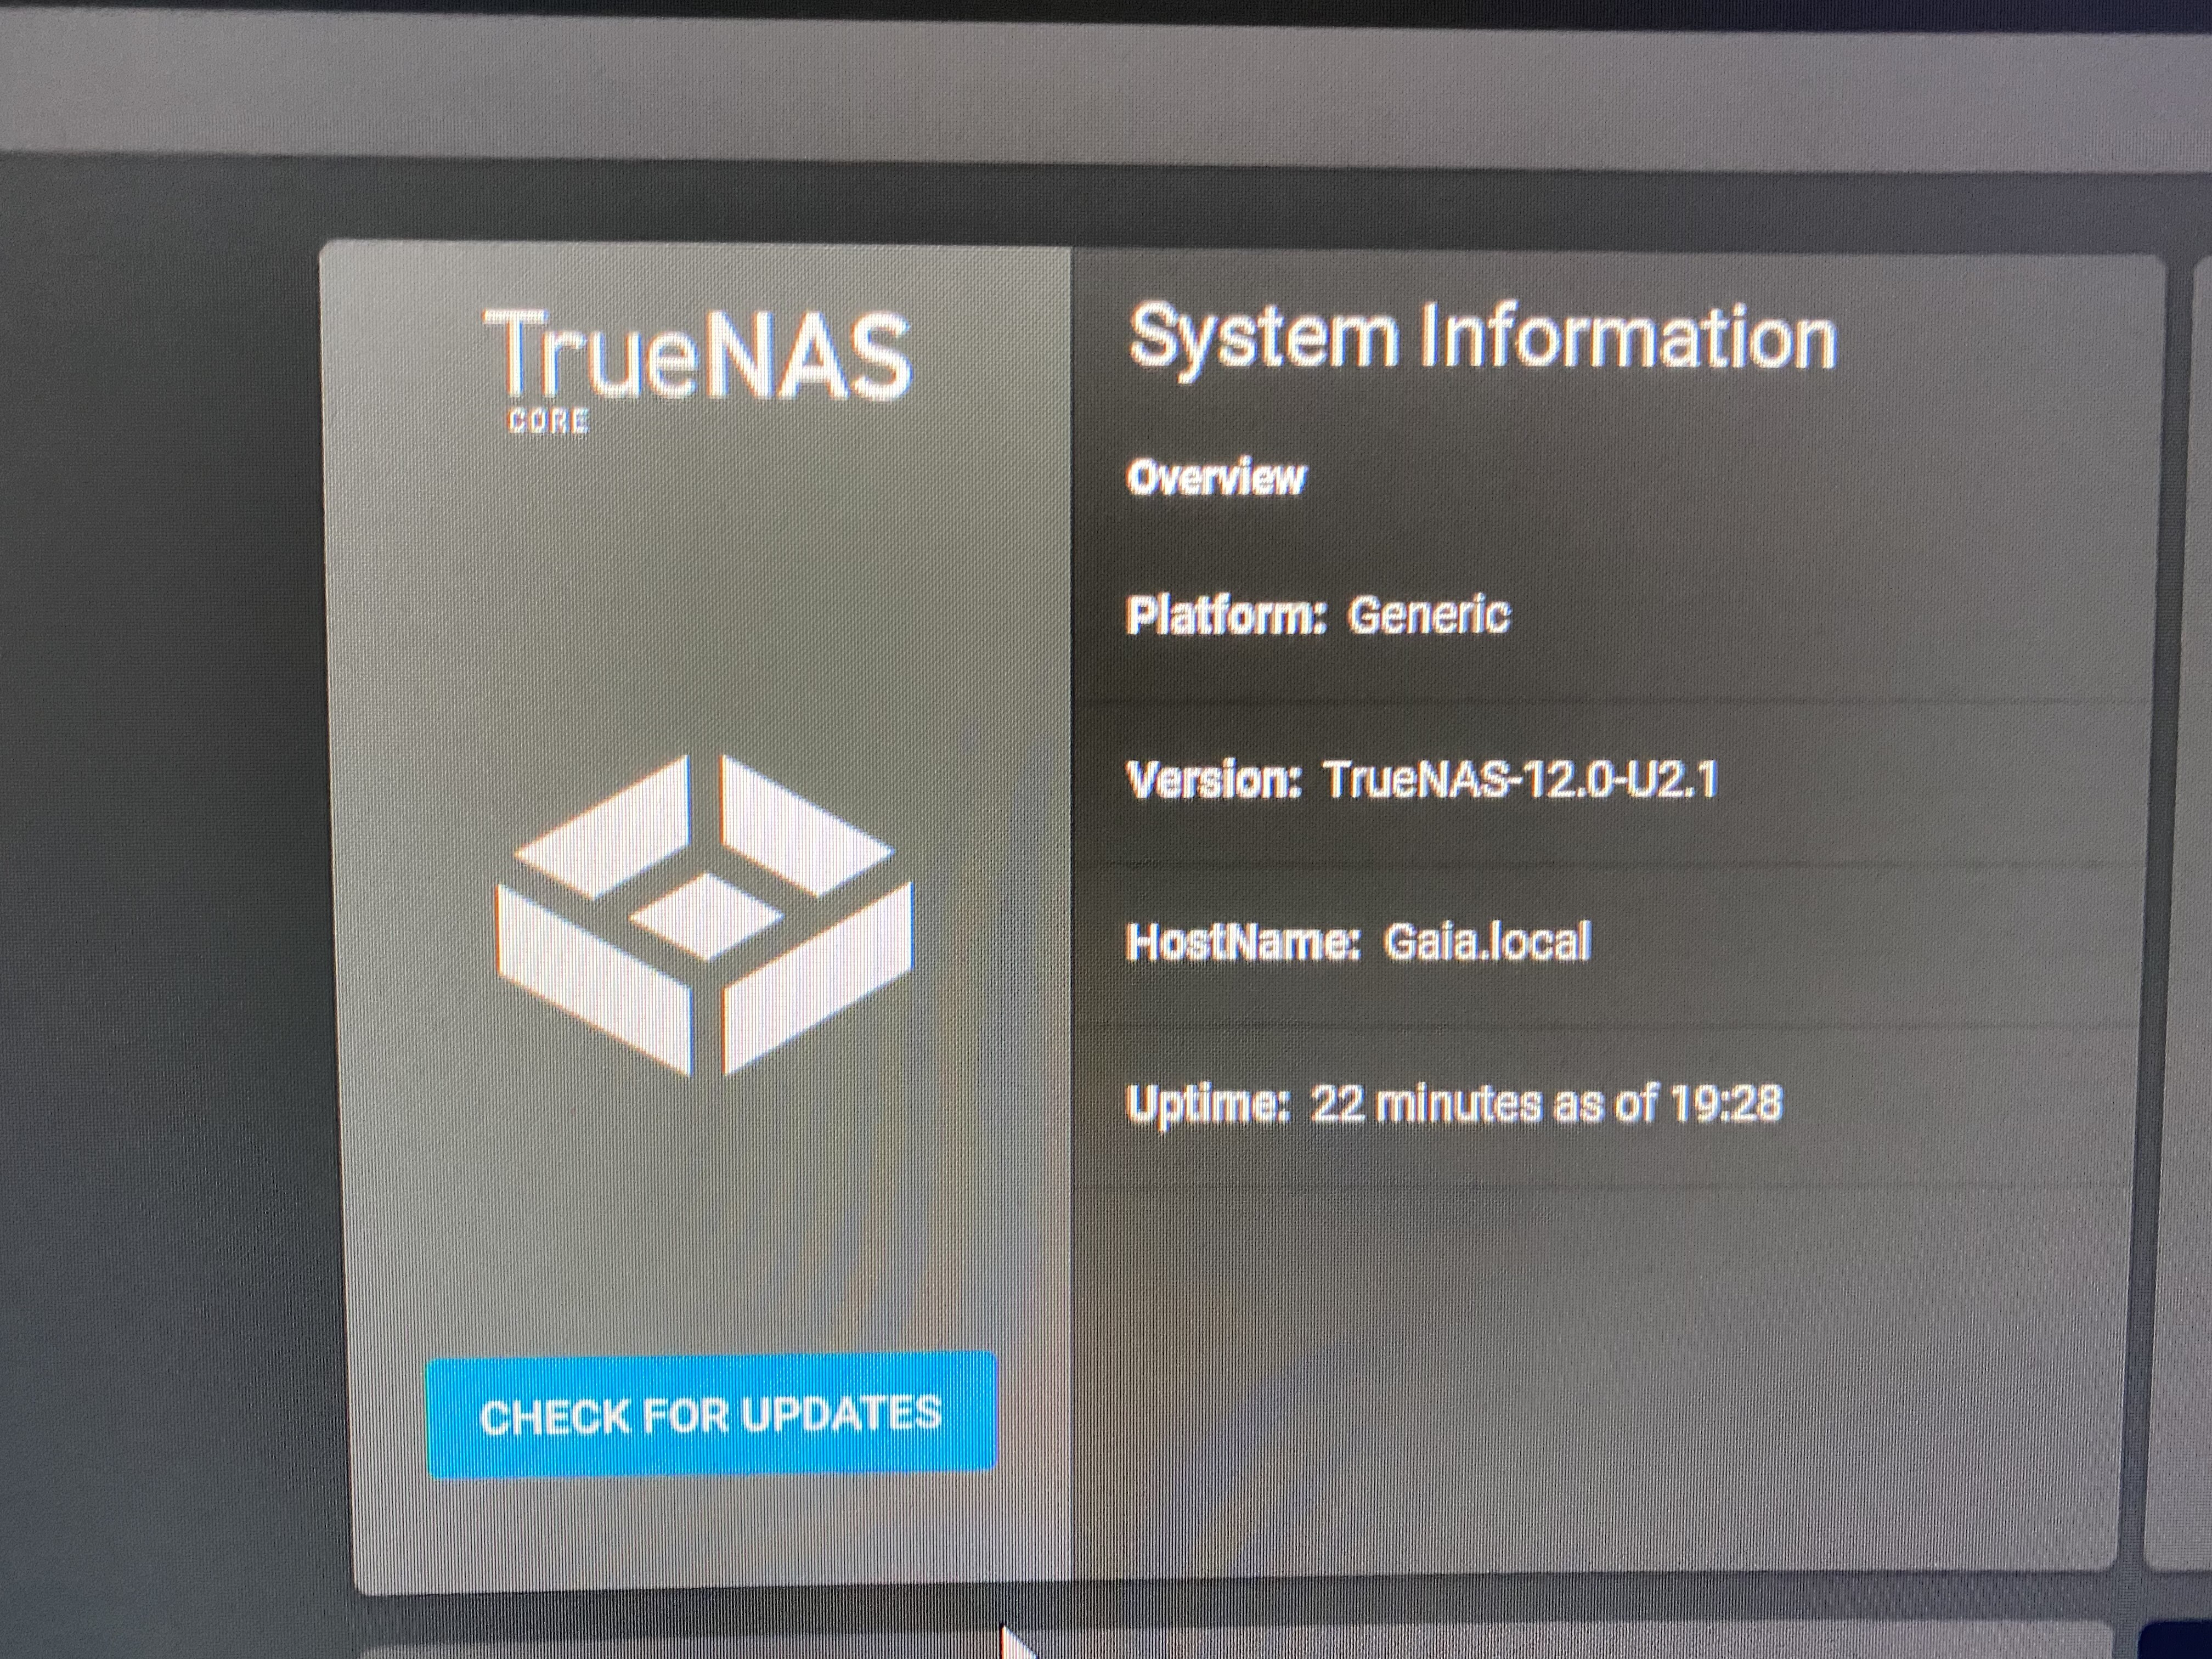
I’ve decided that HEY World is interesting enough as a platform to try and create more stuff. And today, I want to tell you the tale of my struggle to convert a computer into a NAS (Network Attached Storage).
Some background. The target computer in question is an old gaming computer. I originally built it in 2014 as a college graduation gift to myself. At the time, it was really nice, sporting an AMD FX-3950, 16 GB of RAM, an AMD R9 290X, and an SSD to boot Windows from. I also went all out with the case, opting for the Thermaltake Level 10 GT, a case I chose specifically because I wanted to utilize the hot swap SATA bays. Starting around three years ago, this computer began to exhibit some really big problems. Namely the darned thing would freeze up after certain amounts of use. I tried isolating the problem and came up with two possible reasons:
Some background. The target computer in question is an old gaming computer. I originally built it in 2014 as a college graduation gift to myself. At the time, it was really nice, sporting an AMD FX-3950, 16 GB of RAM, an AMD R9 290X, and an SSD to boot Windows from. I also went all out with the case, opting for the Thermaltake Level 10 GT, a case I chose specifically because I wanted to utilize the hot swap SATA bays. Starting around three years ago, this computer began to exhibit some really big problems. Namely the darned thing would freeze up after certain amounts of use. I tried isolating the problem and came up with two possible reasons:
- At least one of the memory modules (by now expanded to 32 GB in a 4x8 layout) was faulty.
- The motherboard was faulty.
It’s entirely possible the CPU is at fault, but whenever I had temperature tracking on, it never got hotter than at most 45° C thanks to water cooling. Therefore I don’t think the CPU is the major contributor.
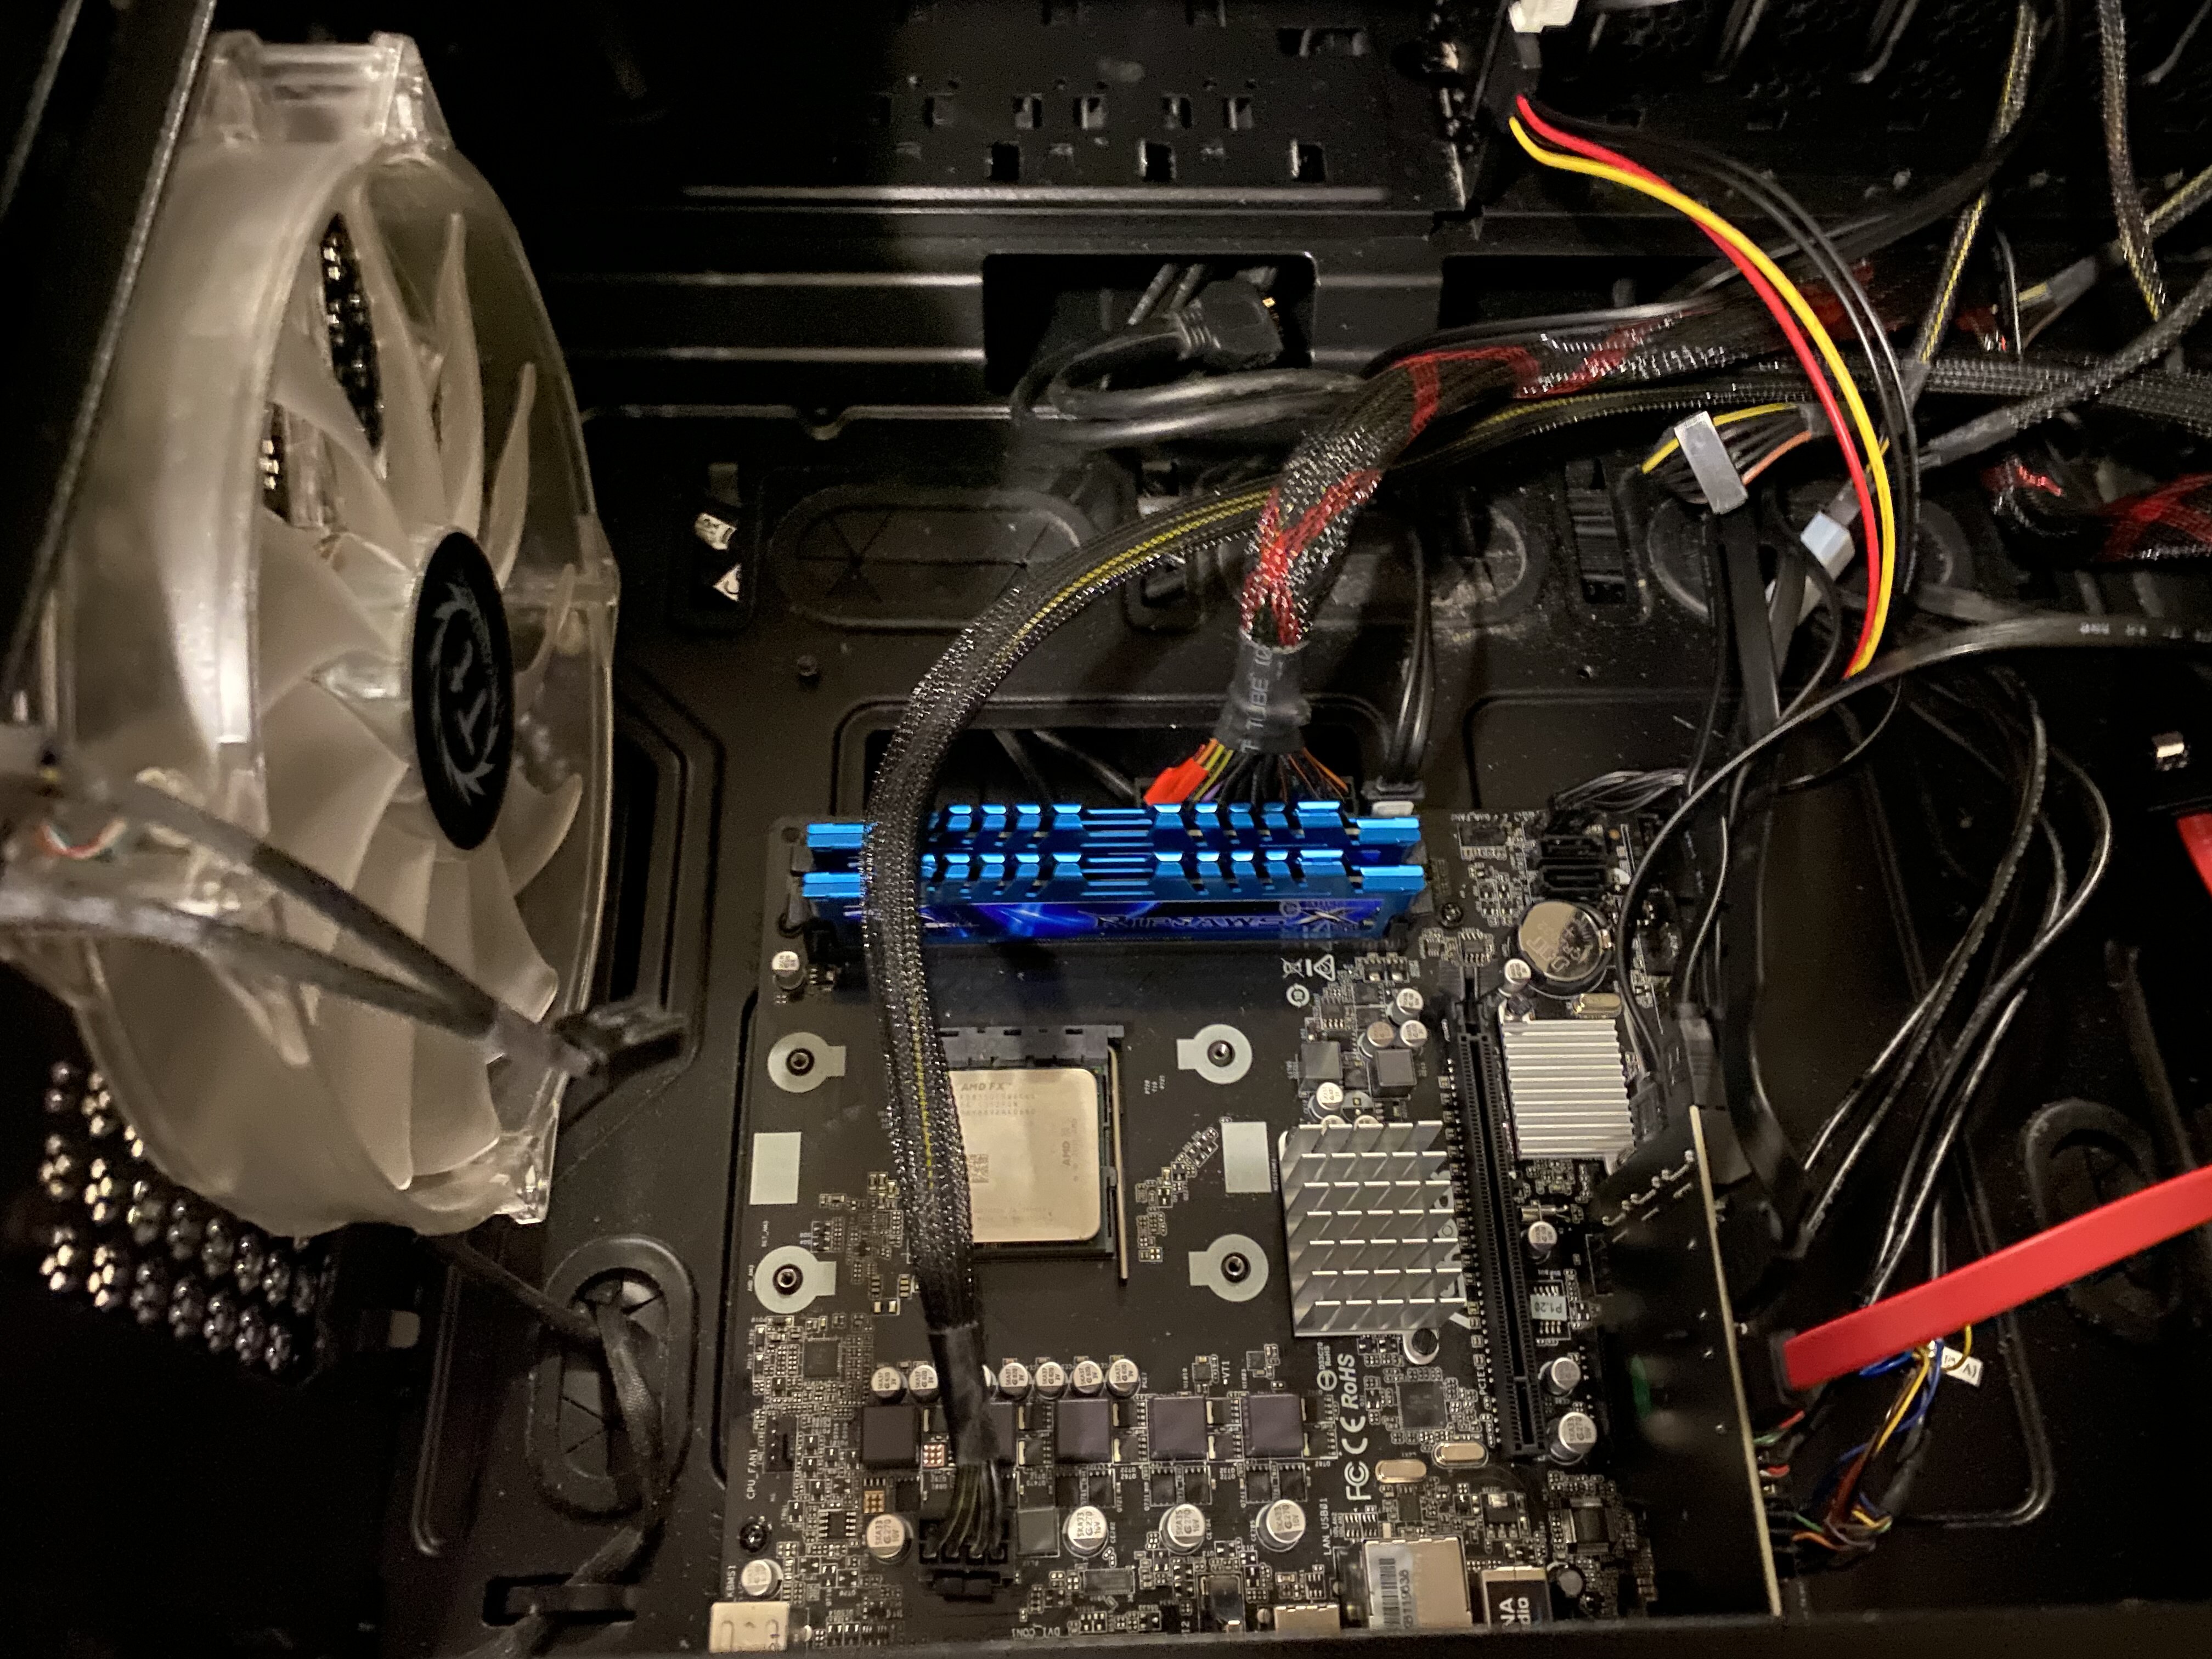
Anyway, here’s a picture of the computer in question when I opened the case for maintenance:
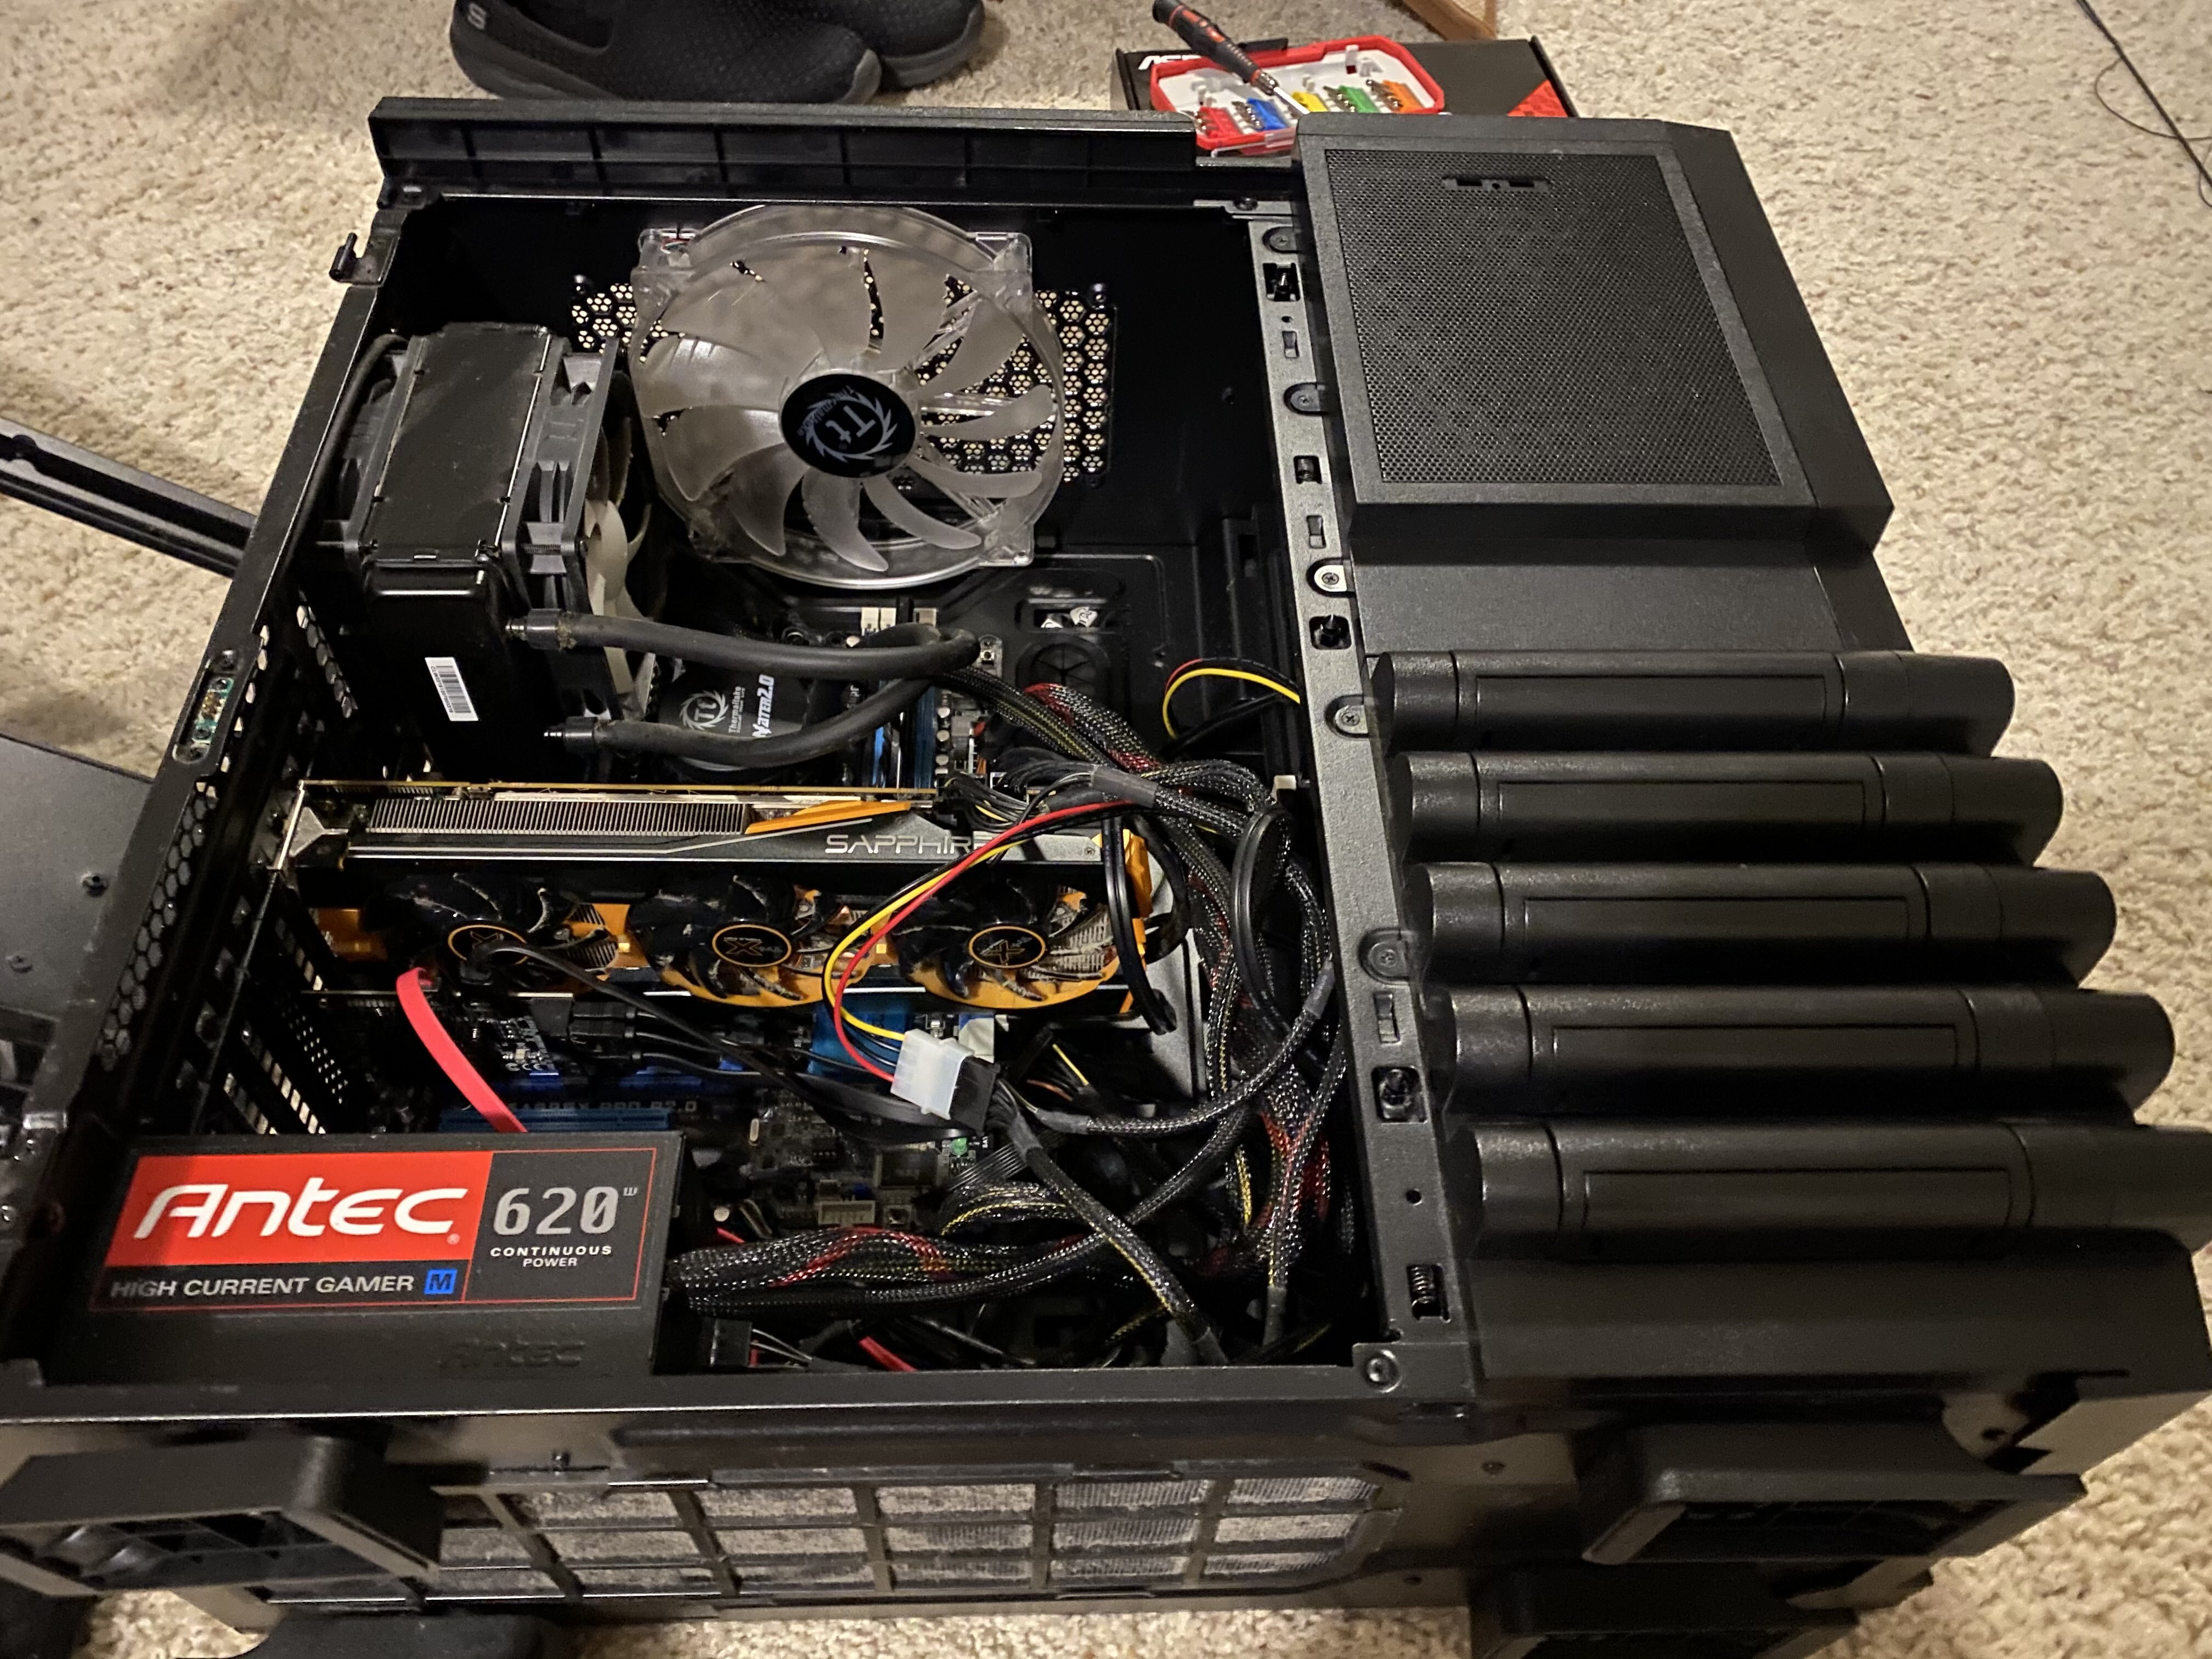
Because my network devices all have names from Greek Mythology, I decided in advance I would call this reborn computer “Gaia,” because as a server (and an older computer in the network), it forms a central part of the network like Gaia does as a primordial deity.
Believing the motherboard to be faulty, I went ahead and ordered a new-ish motherboard from eBay that supported the same CPU socket, AM3+, with the addition of an onboard GPU which the prior motherboard did not have. Since shipping will take a while, I went ahead and installed TrueNAS (formerly known as FreeNAS) into the SSD. Initially I had a small problem because my motherboard was set to boot in UEFI mode, and the windows partition it had been looking for no longer existed. D’oh! Thankfully that’s an easy enough fix in the BIOS.
The TrueNAS install went quite smoothly, but I still have that damned freezing problem. After an hour of use, give or take, the system would lock up and not respond to the keyboard, and disconnecting the web interface. I did what could to get things sorted, including buying a PCI-E SATA controller card along with some Western Digital Reds to give me some proper storage while also allowing for mirroring. Additionally since the NAS doesn’t need an optical drive, I have the option to install HDD/SSD cages into the drive bays that are now vacant. So, with these hard drives, I managed to set up Plex Media Server and some SMB shares for some files I want to have available on the NAS, and all seems good.
Finally, the motherboard arrived and I began the laborious process of disassembling the machine and preparing the new motherboard.
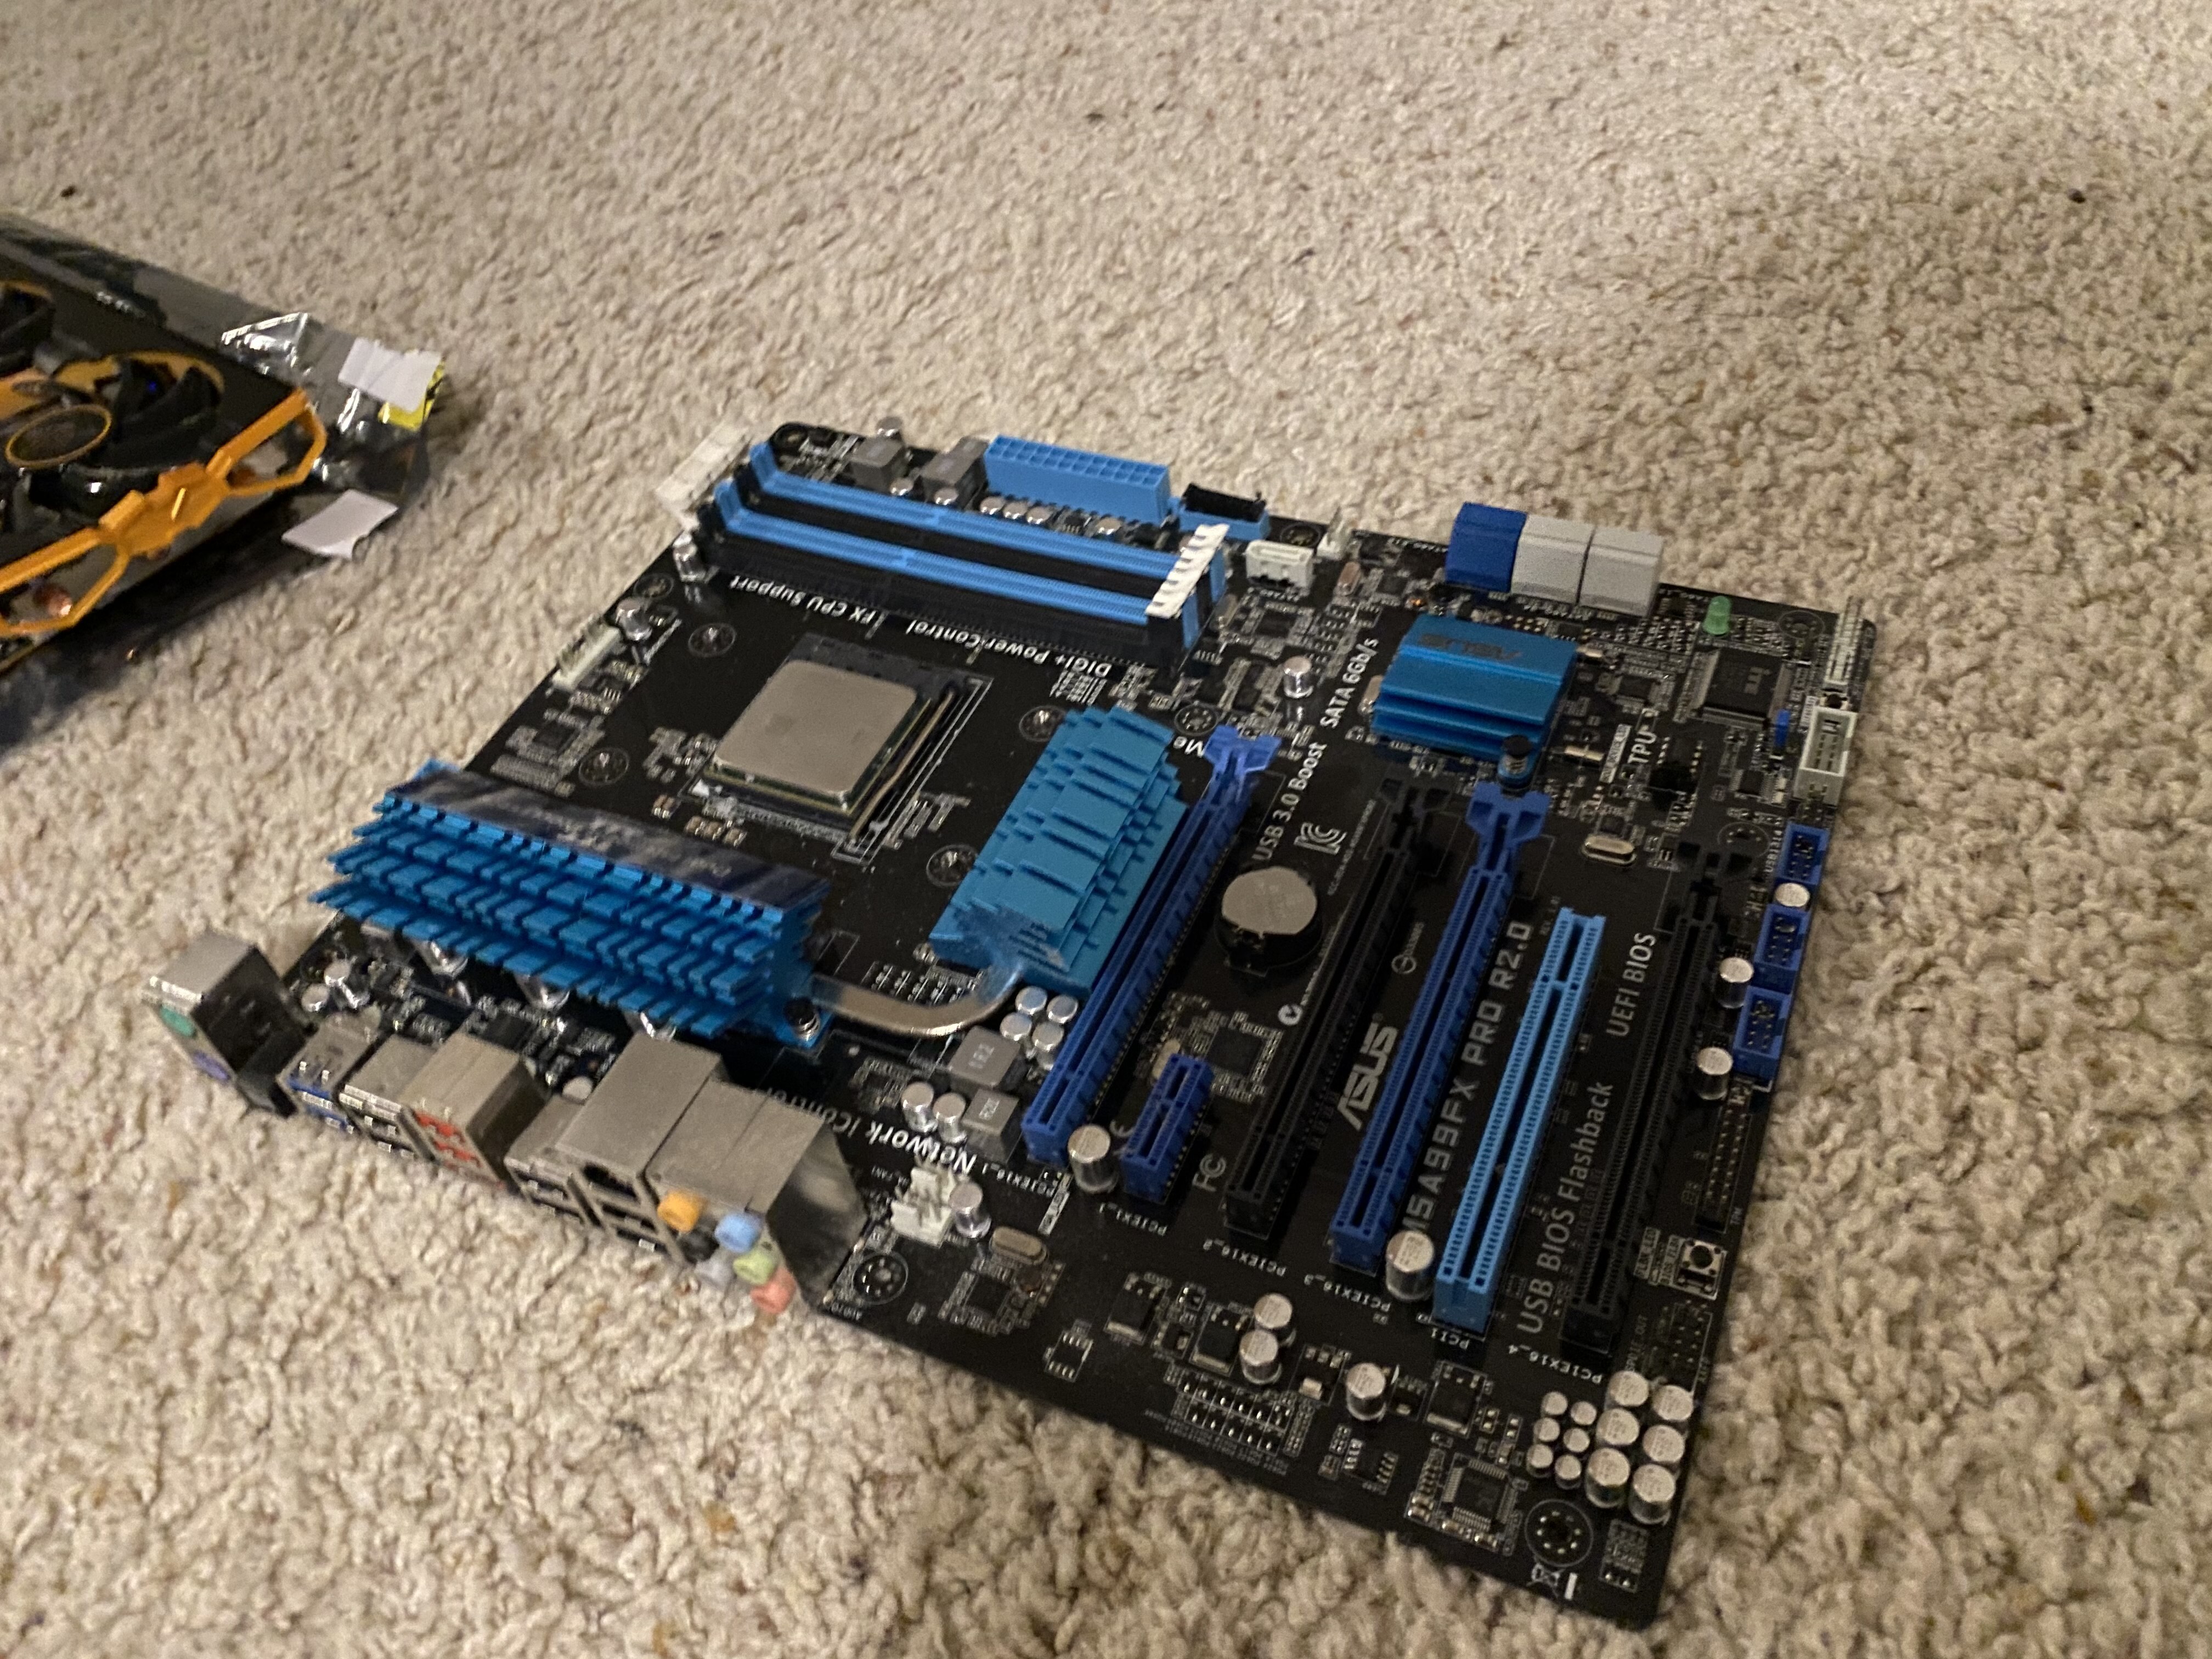
The old motherboard, pictured above next to the GPU (just out of frame) came out easily enough, and I went to install the CPU cooler mount. Unfortunately I realized at this point that the bottom bracket used double-sided mounting tape to hold itself against the back of the board, so I had to make an emergency hardware store run to grab some more.
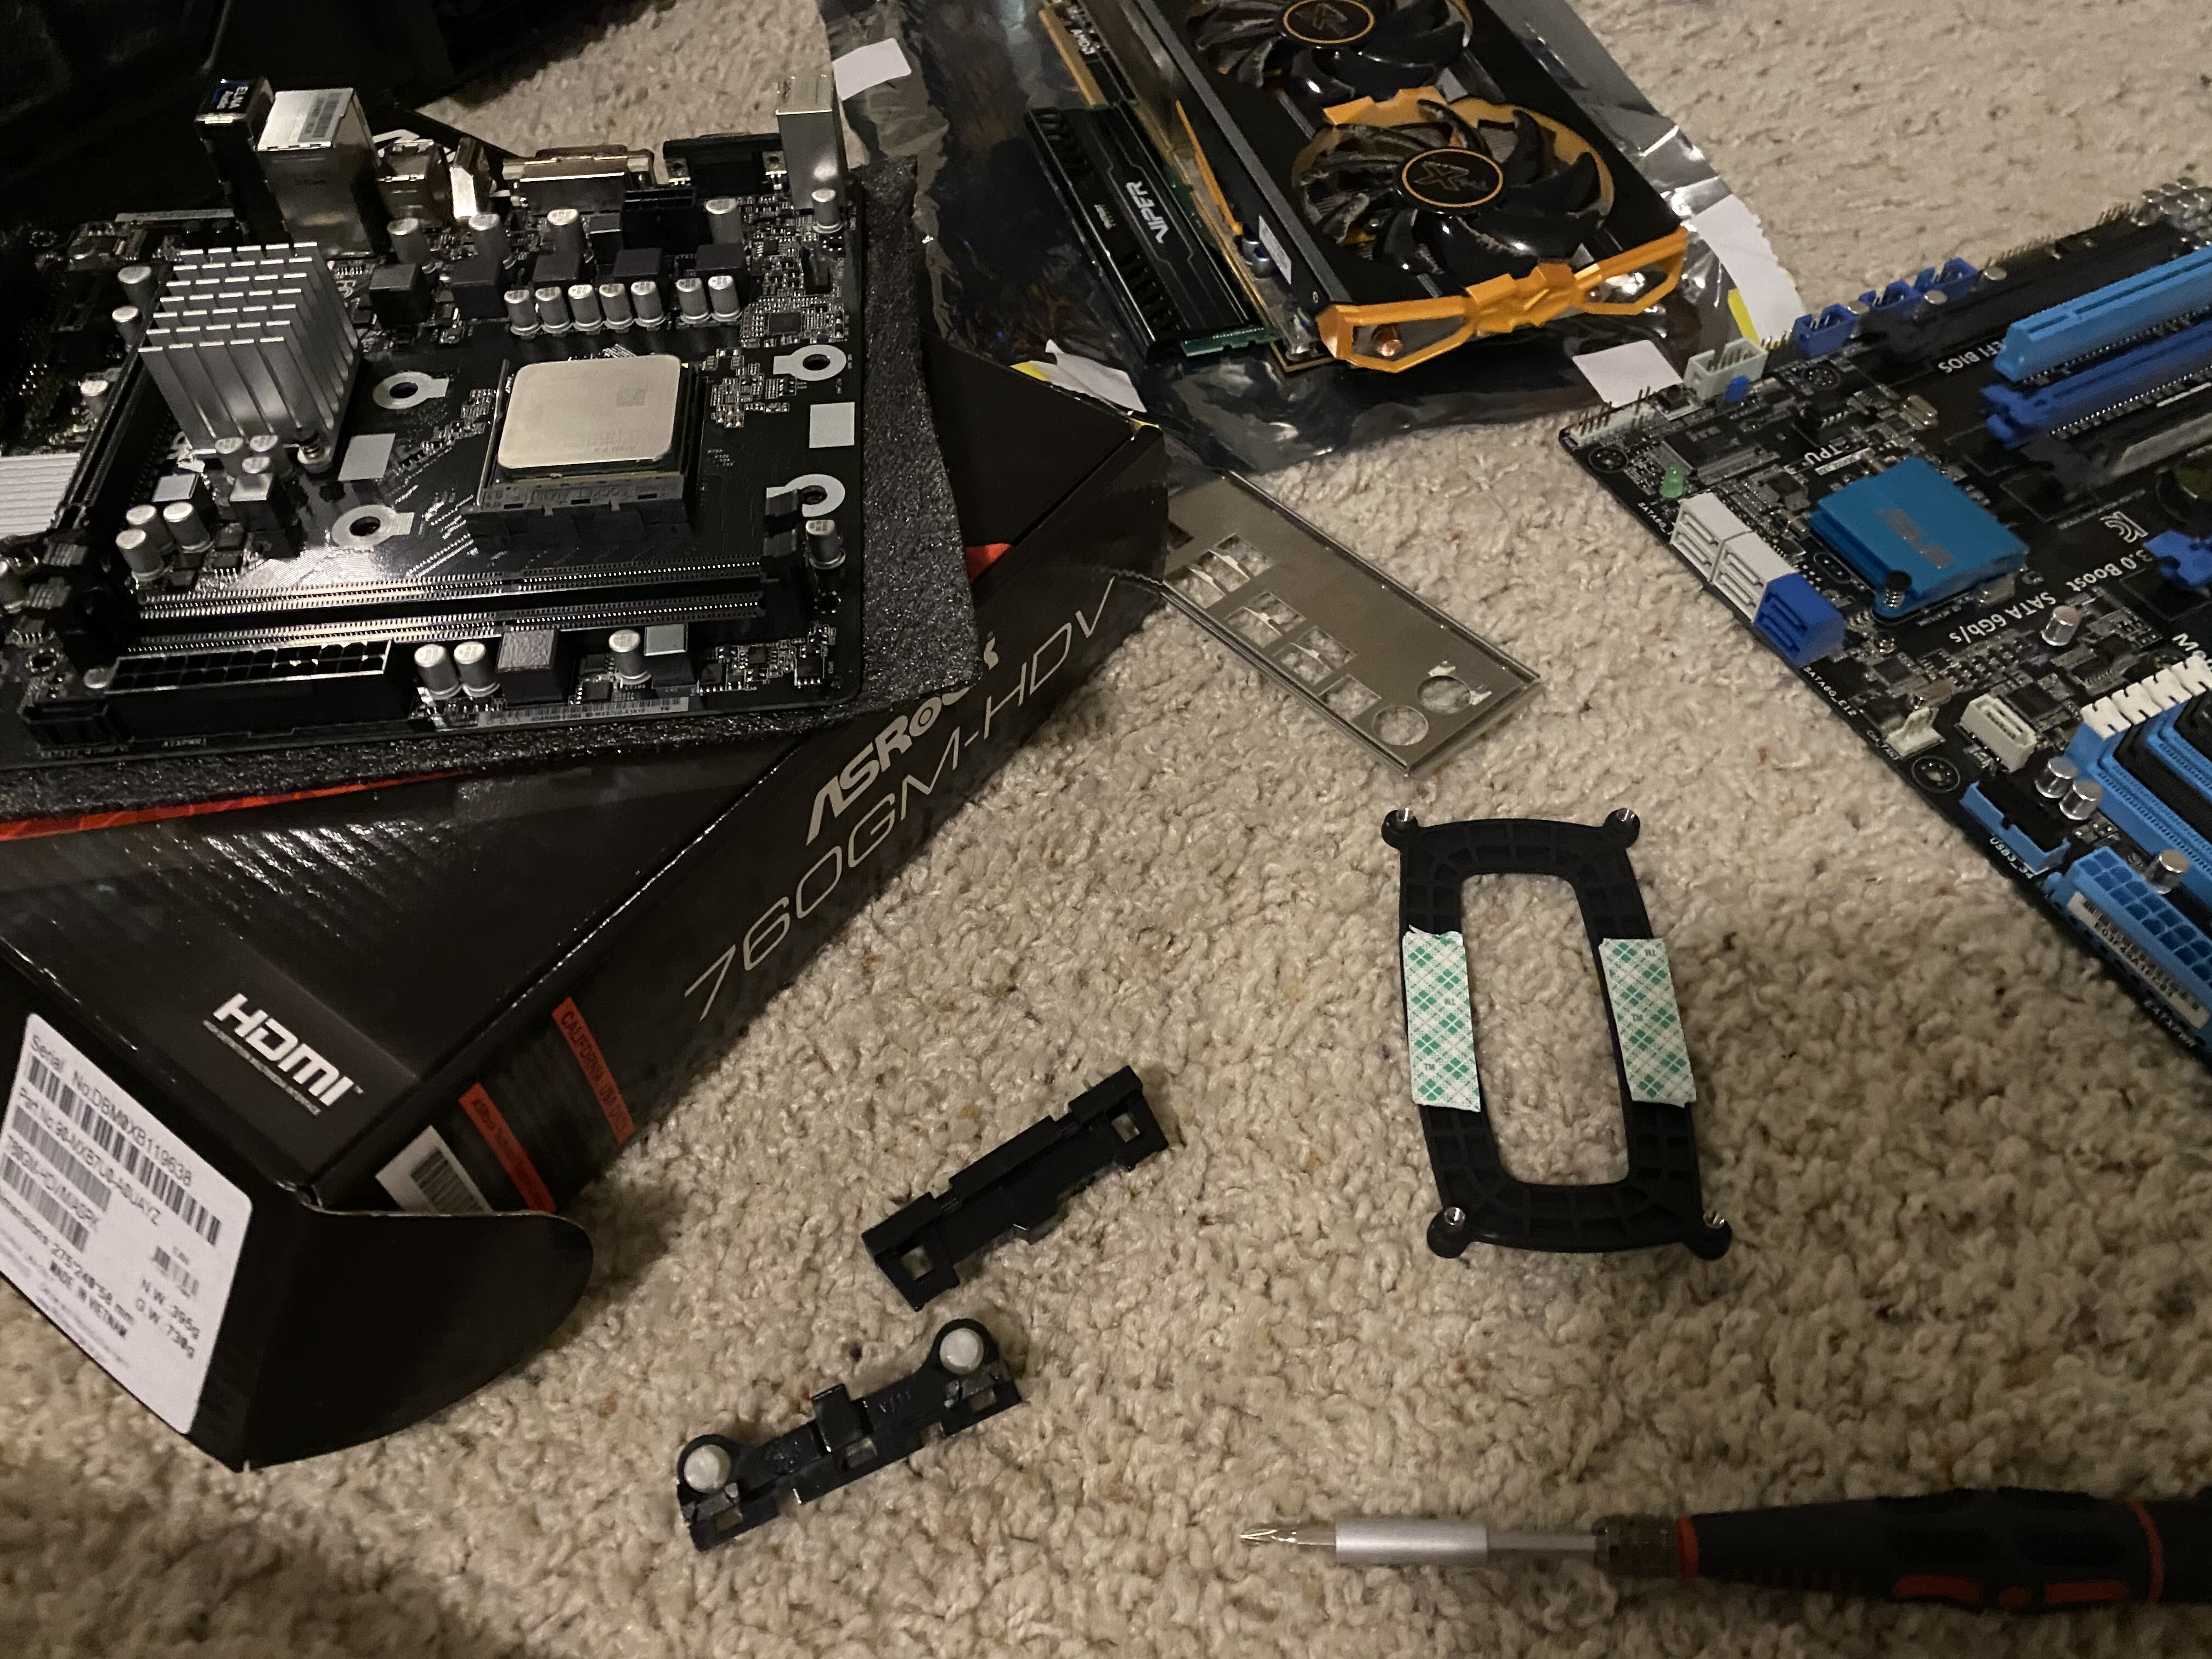
It’s not pretty, but it’s going to be underneath the motherboard, so who cares? I proceeded with reassembling the computer, including a rather tight fit with the CPU cooler.
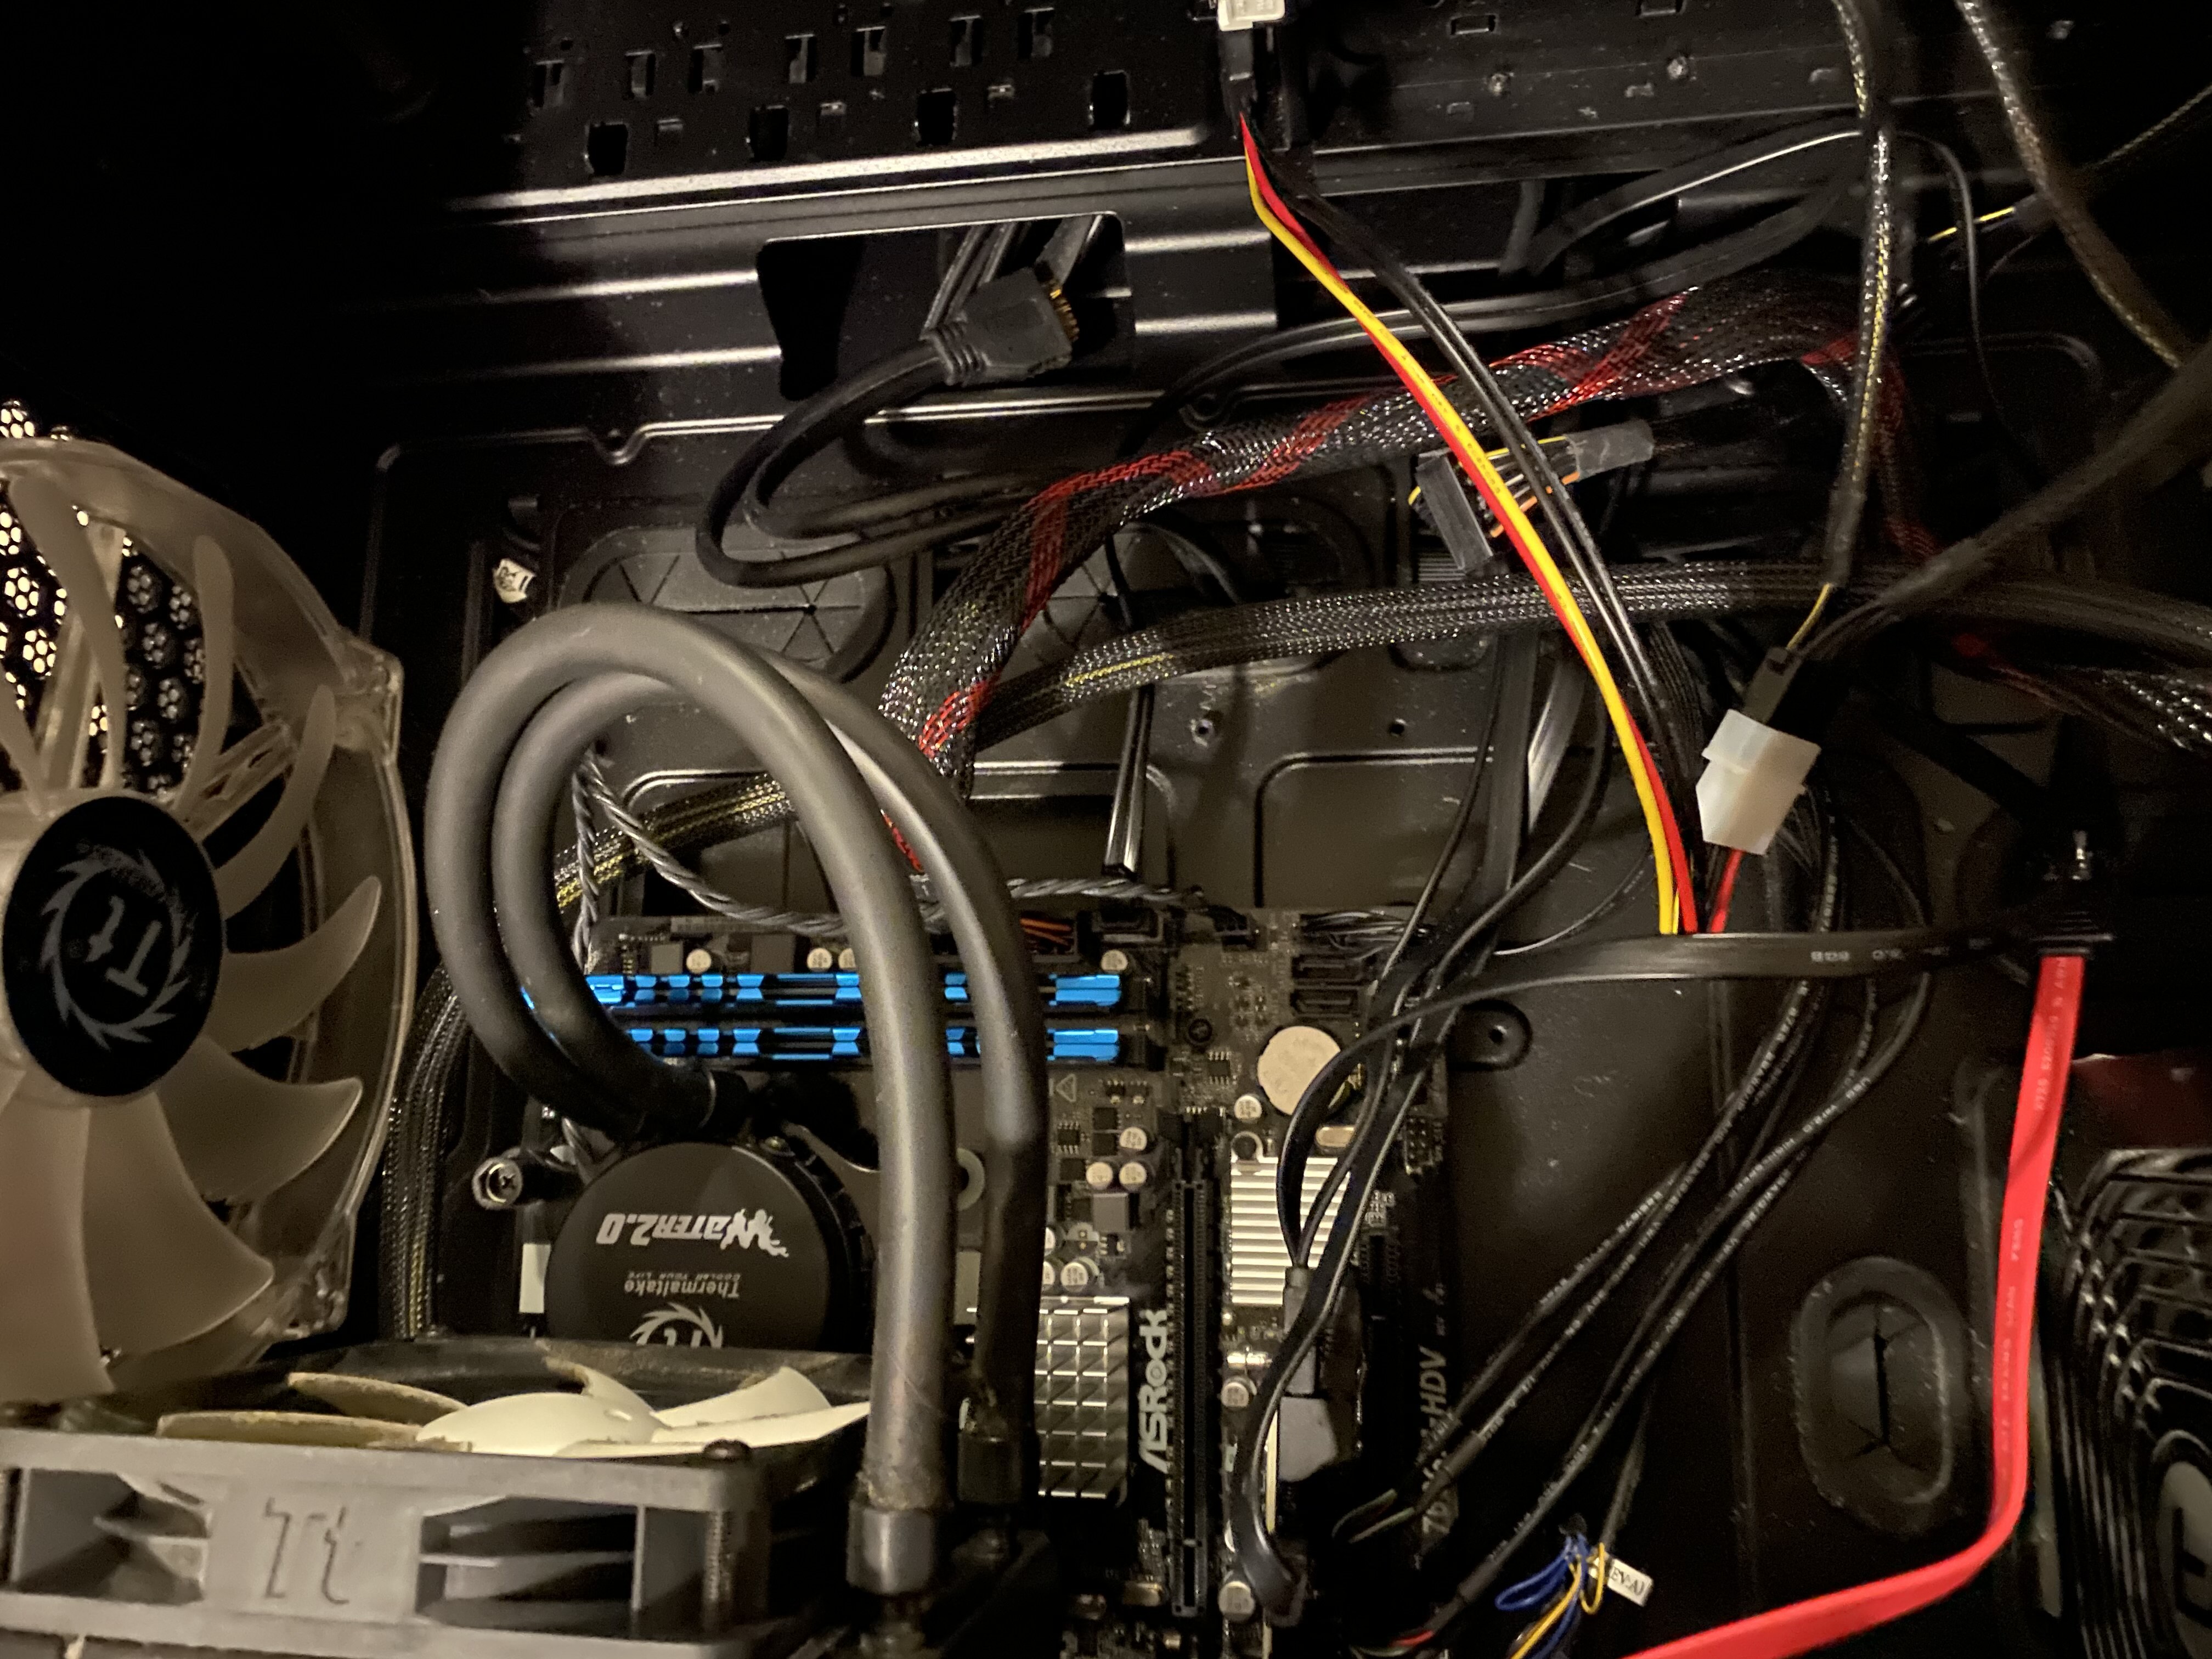
However I probably used too much thermal paste, because when I was in the BIOS doing some configuration, I realized that the CPU temperature was rocketing out of control. The temperature went from around 40° C on boot to upwards of 78° C while sitting on the BIOS monitoring screen. Yikes! At first I thought maybe I didn’t connect the cooler properly, but no, I checked the connections and they appear to be fine. So I disassembled the CPU cooler, and cleaned off the thermal paste, using some isopropyl alcohol where needed. I decided to take a look at the radiator of the cooler, and I realized that I should probably replace the aging fans on it, because these fans were quite loud and didn’t sound super secure. So I ordered some Noctua fans for that, along with another smaller fan for a separate project. This doesn’t also rule out the possibility that the cooler decided to die, but I don’t necessarily think that’s the case yet. And if it is, well, at least a cooler is easy to replace, and the Noctua fans can be used for that new cooler.
Because I ran out of thermal paste, I was unable to really do anything with Gaia until yesterday, when more thermal paste arrived. So now I get to re-apply it, hopefully remembering to be more conservative (but not too conservative!) with the paste. But even if this solves the temperature problem, it won’t solve the other major problem Gaia has. For some reason, my SSD, while detected from the BIOS correctly, refuses to boot. I scratched my head about this one before I realized that what probably happened is I got a board without UEFI support, and the drive requires UEFI to boot and isn’t able to start properly without it. I looked it up online, and sure enough, the ASRock 760GM-HDV does NOT support EFI.
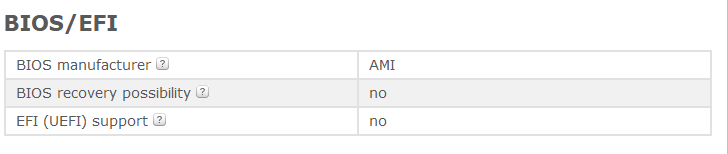
So, I’ll need to figure out if there’s a way to convert a FreeBSD (the OS TrueNAS is built on top of) partition from UEFI to a BIOS (or legacy) partition, and if not, how to go about preserving my configuration to minimize the hassle of re-installing TrueNAS. A cursory search online suggests that there may not be an easy way to convert the boot type, so I think I’ll have to go for option B. TrueNAS apparently is supposed to back up the configuration to a folder, and I’m hoping that if I hook the drive up to a SATA-to-USB adapter I’ll be able to find those files. On top of that, the lack of redundancy in the boot device was starting to concern me, because even though my ZFS drives holding my data aren’t encrypted and are mirrored, if my boot drive fails, I’m hosed in terms of the configuration even if I’ll be able to get my data back easily. So, I decided to purchase another SSD of the same size (only 128 GB because I do not plan on storing anything aside from the OS on this disk), and that arrived at the same time as my Noctua fans.
Smash cut to when the hardware arrived. The good news is the Noctua fans are exactly as quiet as I’ve been led to believe, and that alone has made me a fan (no pun intended). However, something went haywire when I was reseating the cooler, and now the board refuses to POST. On top of that, the liquid cooler decided to start making a horrible racket, so I just said “screw it” and shelved the project for a while. After coming at it a few times over the past few weeks, I realized that I probably shorted something on the board or the CPU, and...I just don’t feel like troubleshooting those. After weeks of just sitting, thinking on it, I’ve decided to go with a a motherboard/CPU/RAM combo from eBay. This one includes a built-in GPU, like I wanted, an air cooler, and 16 GB of RAM, all of which is new stock. It also has a PCI Express slot, albeit an x16 one, but that will still work with my SATA controller card. Hopefully this motherboard will support UEFI, but...I’m not holding out too much hope there. Worst case I can just wipe the drive, and start over. I’ll need to do the configuration again, but that was pretty painless the first time.
Fast forward to today, when the new motherboard arrived. Installing it was a pain, and I don’t think I need to really show photos of the process as it was irritating and sweaty and pretty much a repeat of the previous process, sans the CPU cooler issue. But the good news is, it now works! I need to install a chassis fan in the spot where the liquid cooler used to reside, and then I need to take all of the old/dead components to recycling. And finally, I am done with this project. Almost a month of effort, and nearly $400 expended. But it works!