I recently set up my older Dell XPS laptop (circa 2021) with DHH's new Omarchy flavor of Arch Linux. I had seen enough posts and looked down at this Windows laptop, sad and unused in the corner of my office that I made the choice to give it a revival. Worst case, I thought, I fail miserably and the laptop sits in the corner yet again. Spoiler alert, it was successful and my laptop has found a new life and is performing like new. Dare I say Omarchy might be the age reversing drug for older machines a la Brian Johnson style!
That being said, Windows didn't go quietly, so I decided to document the experience here in case anyone else wanted to avoid some of the pain. I'm going to assume you already have a bootable USB stick with Arch on it. If not, I just used balenaEtcher to take an Arch download and create it.
Step 1: Update your BIOS and firmware
The first thing that I did was make sure my BIOS and firmware was up to date. I figured this was going to be easier to do with the working version of Windows installed. I used the Dell SupportAssist download, which is free. You can download it here: https://www.dell.com/en-us/lp/dt/supportassist-for-home-pcs
In my case it showed the BIOS had a new version and a number of Intel drivers so I just let it update all of this. This experience takes a bit of time and will require a few restarts.
Step 2: Plug in your bootable USB stick
At this point I plugged in my bootable USB stick and used the Dell dongle since this laptop doesn't have the USB port. There's no issue with this but we still have some boot configuration changes to make before we try to do the install.
Step 3: Boot config changes
The next step is you're going to need to make some configuration changes to your boot configuration. Claude and most articles online said that by hitting F7 or F12 as your computer was booting would load the BIOS configuration screen. After a few times trying this and landing inside of windows I decided this didn't really work. So I restarted Windows in recovery mode from within Windows which will take you to the boot configurations.
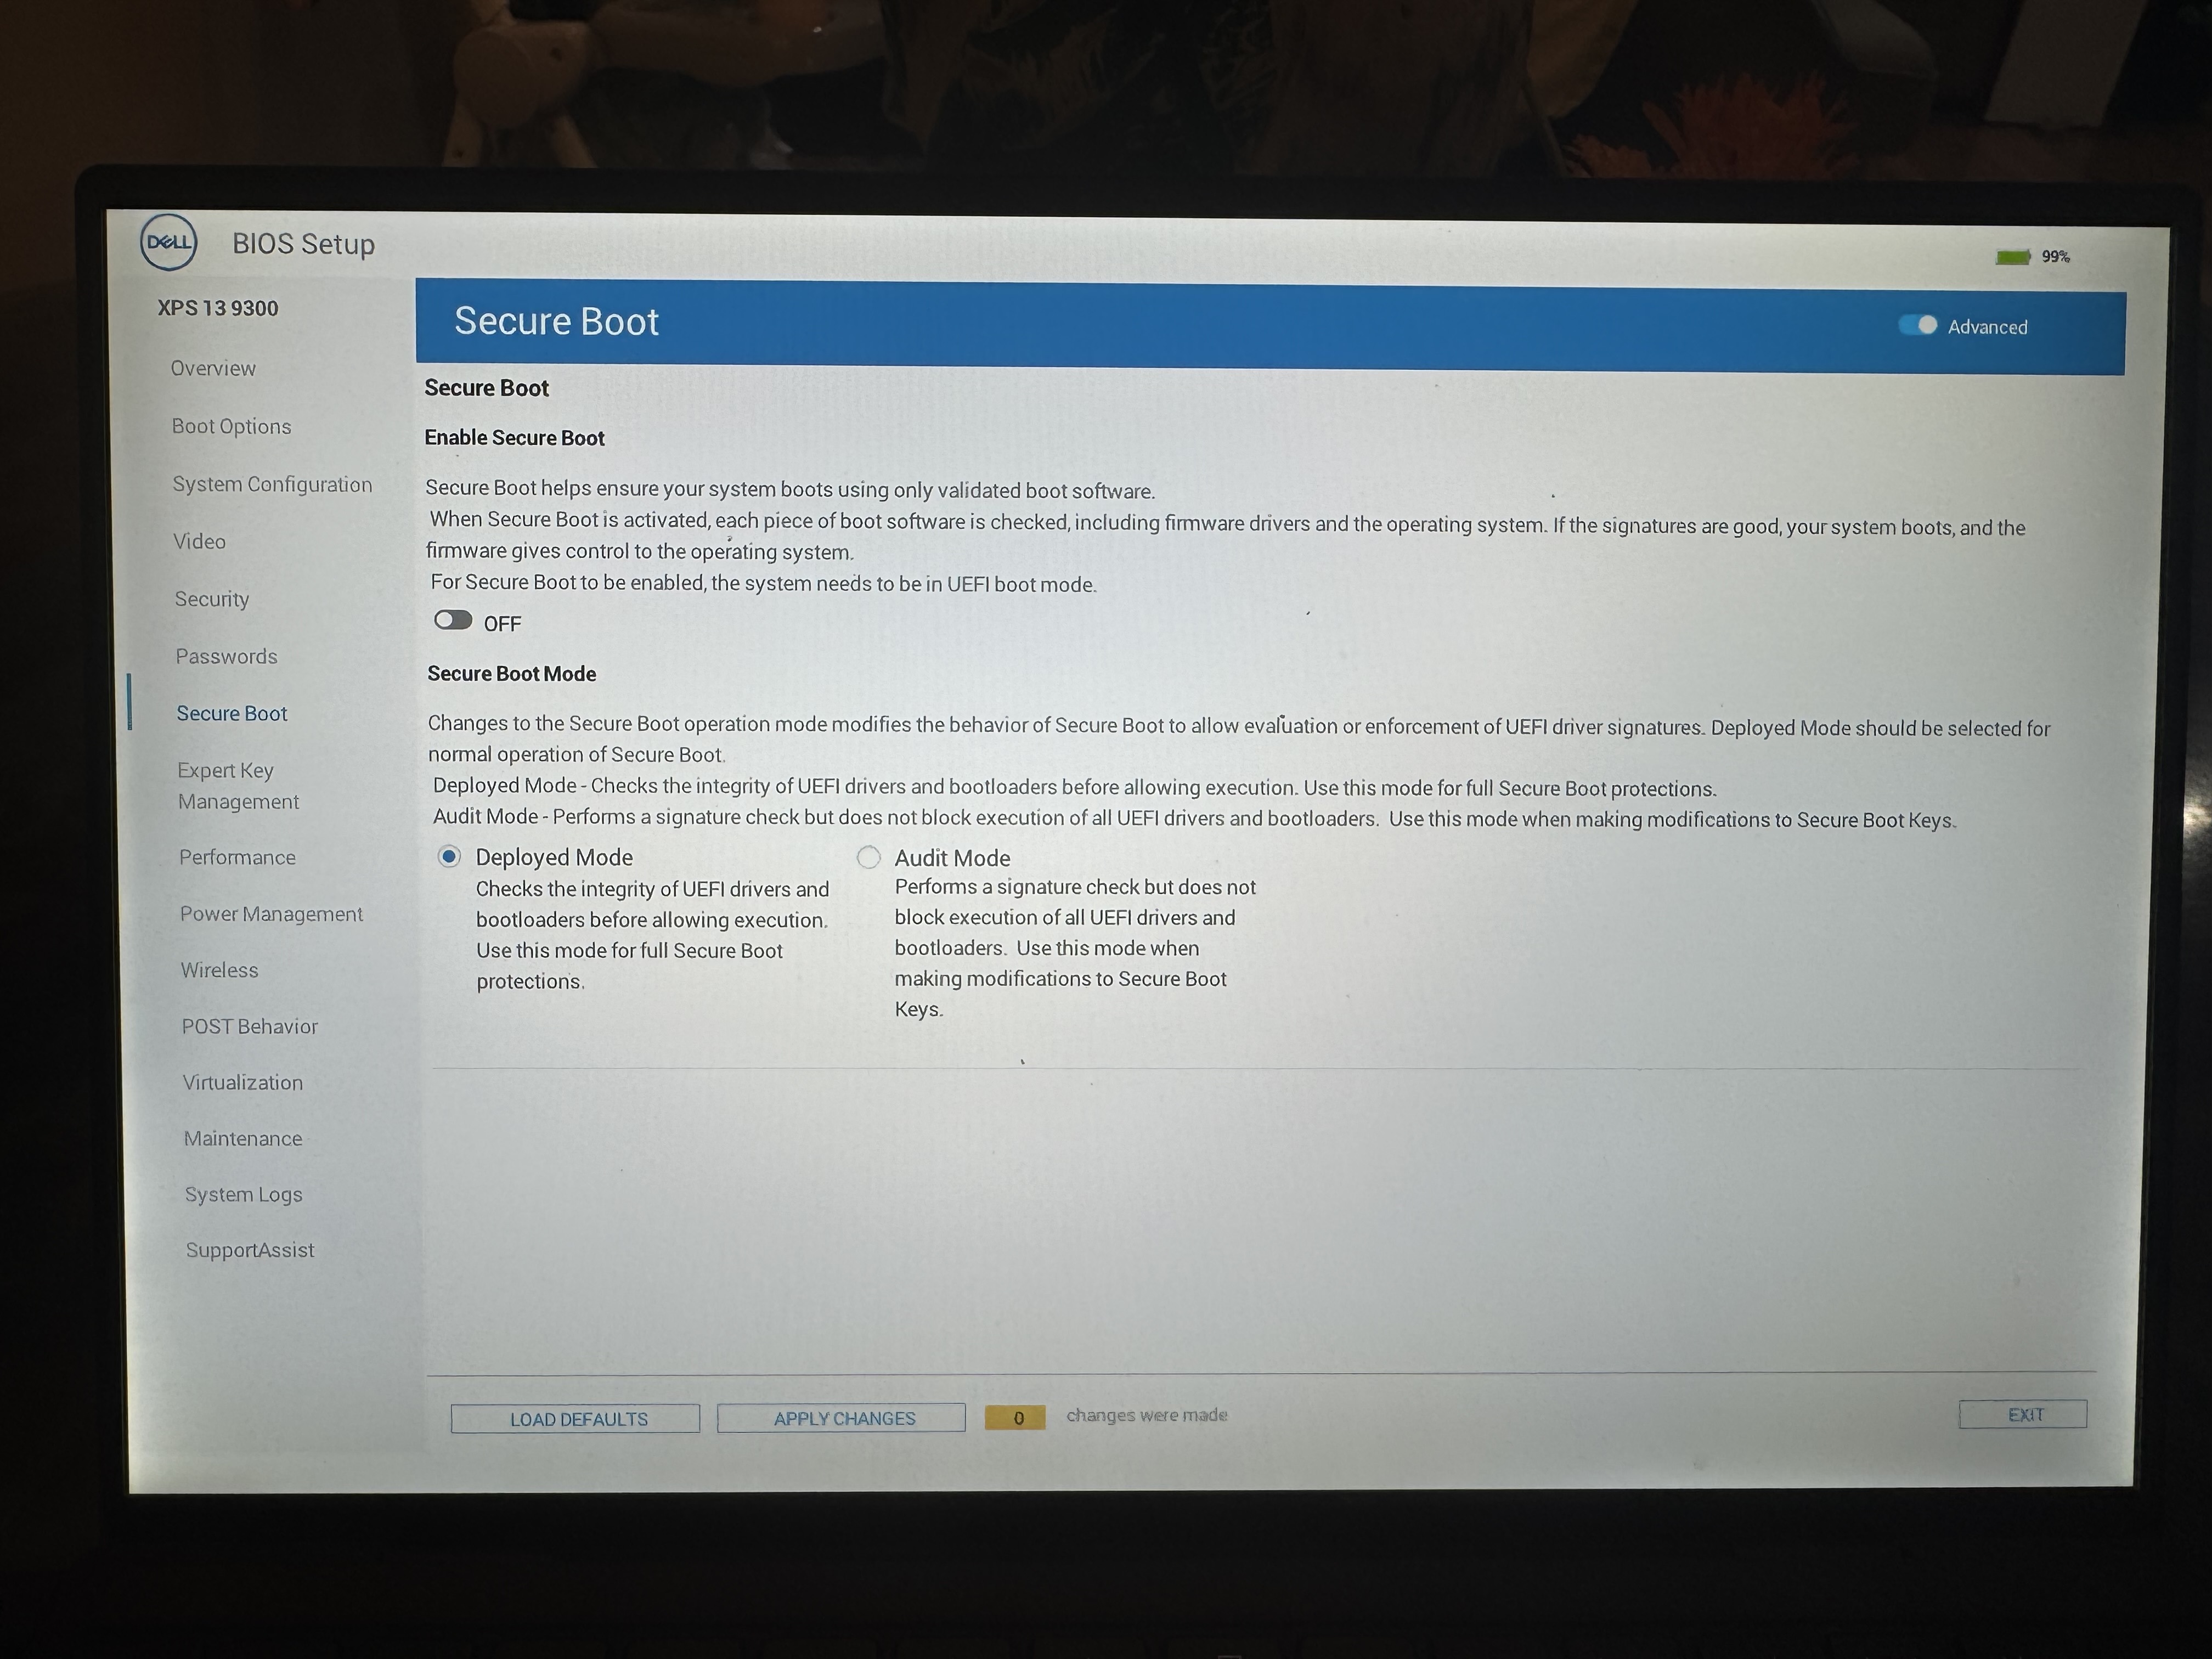
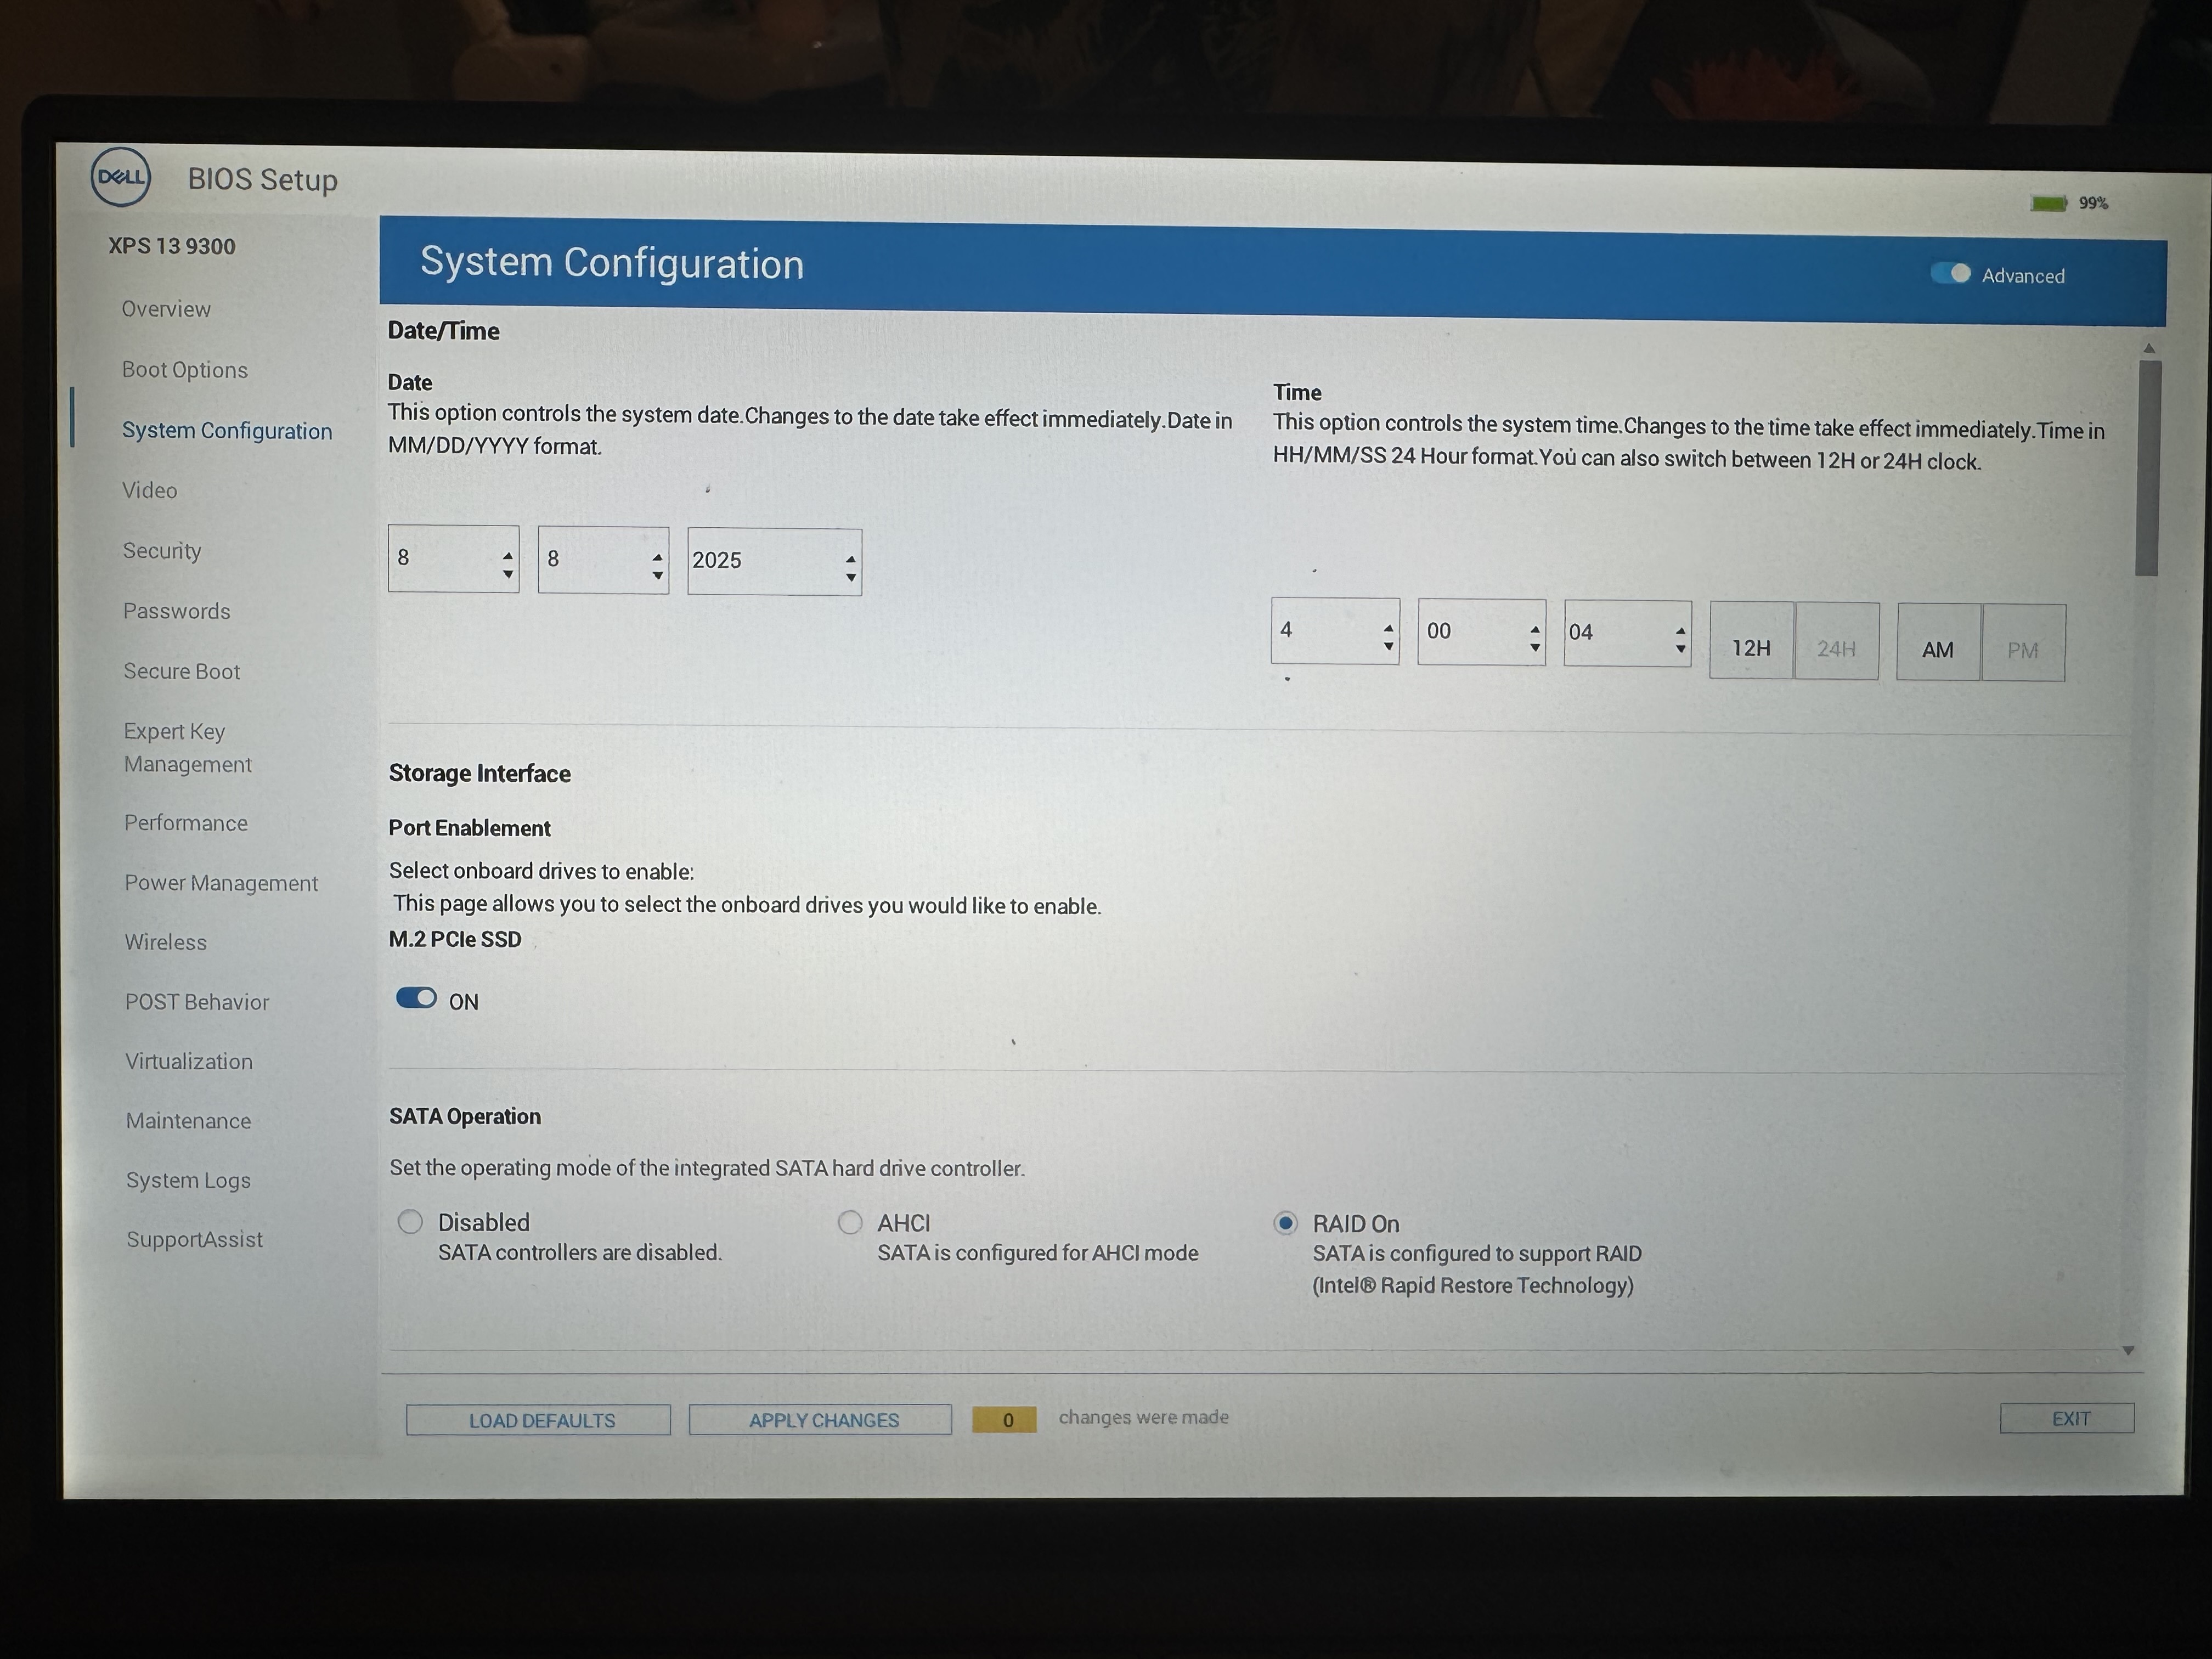
There's two changes you need to make. One is you need to turn off secure boot and the second is you need to change the hard drive from RAID mode to AHCI.
If your hard drive is encrypted as mine was you're going to end up needing to get a BitLocker key from Microsoft in order to make any changes. I just logged into my Microsoft account on my phone and got my BitLocker recovery key and punched it in. This allows you to make the changes you need and move forward with wiping the drive.
Note that after you apply these changes Windows will not boot anymore. You'll get into this boot error loop with a sad face as Windows tries to come back. Hold F12 here on restart and now you can get back to the BIOS setup screen to boot from a USB stick.
Step 4: Rock and roll
At this point you can boot from your USB stick and go. In BIOS setup follow the steps to boot from a USB drive and you will see your drive listed there with UEFI <some_name_here>. Pick that and Arch will load and you can officially run through the Omarchy setup instructions! After you're done with the install, when the computer reboots you can remove the USB stick so that it boots from the hard drive now instead of the USB stick.