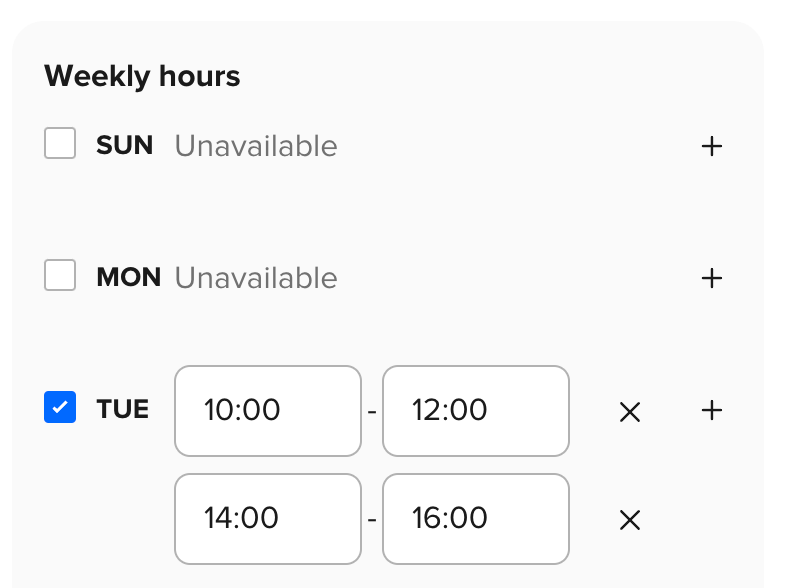
Here's the section in Calendly for the user to define the available hours of a week for other people the make appointments.
A day is unchecked by default, and the user can do either actions below to insert a period:
A day is unchecked by default, and the user can do either actions below to insert a period:
- selecting the day's checkbox on the left; or
- clicking "+" sign on the right.
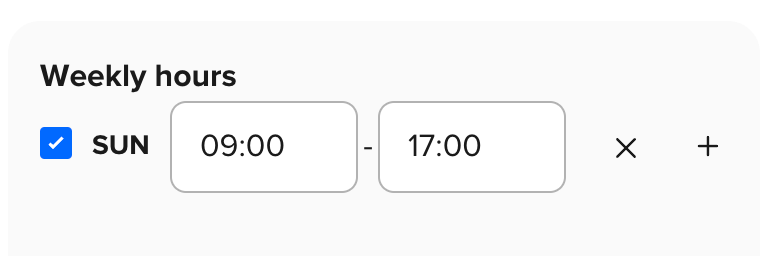
Example below: We are going to enter some periods in SUN:
After selecting the SUN checkbox, the start and end date fields with a cancel sign appears.
The fields are prefilled with some values by default.
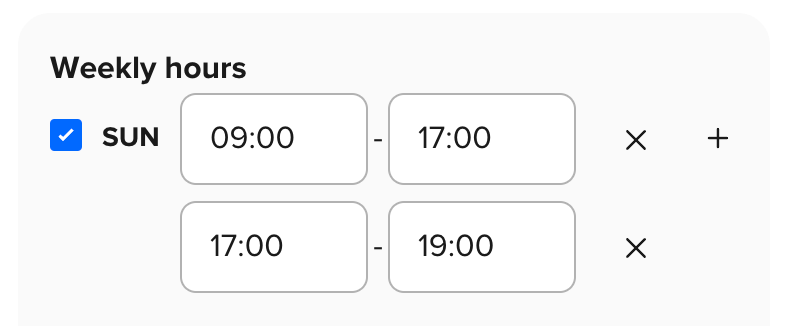
Clicking on the "+" sign creates another row for entering another period.
There is only one "+" sign for each day and it's at the 1st row. In some products, including mine, the "+" sign resides at the last row, or below it.
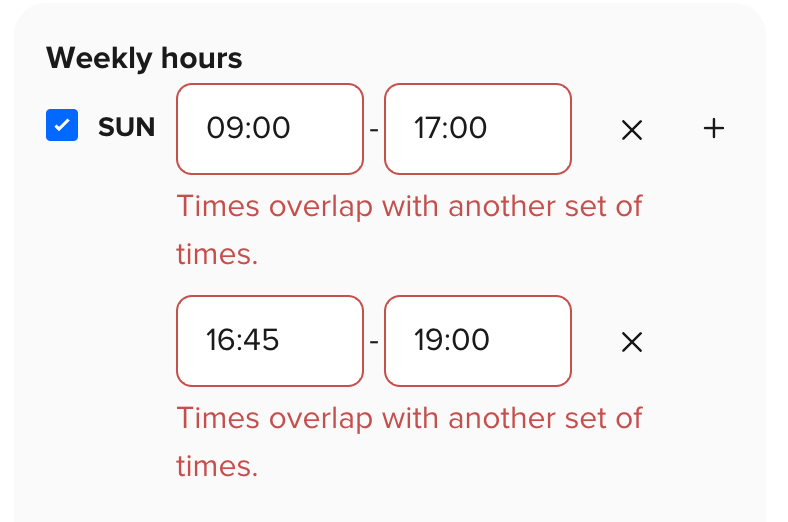
Trying out some error scenarios:
Overlapping: the 2 rows with the overlap will have start and end timing fields in red + error message for the each of them.
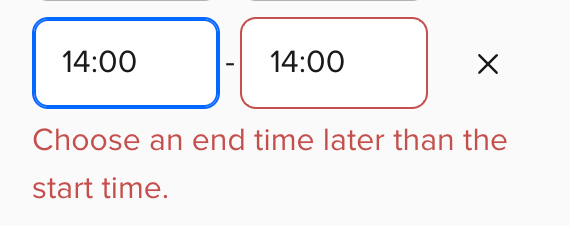
Same start and end timing: Only the end time field is in red; the error message is displayed for the entire row instead of the field with the error.
#uixi @uxuidesign #uxjournal #uijournal #uxuijournal