The broad strokes to running a product experiment are:
- Identifying a customer and/or business problem
- Coming up with a hypothesis for a solution
- Building the changes under a feature flag
- Running the experiment
- Review the results of the test
Step 5, reviewing the results, doesn't happen inside your feature flag manager. That typically happens in your product analytics dashboard.
If you don't have product analytics set up then that’s a whole separate conversation. Don't let that bottleneck your progress though. Rather than building a tracking plan and figuring everything out from scratch, you can just install an analytics product called Heap (I'm not affiliated in any way).
Heap will automatically track most things for you. You only get 60K sessions on their free plan so it’s not a long term solution, but it's more than enough to get started. Once you have your experiment running, you can invest in developing a proper analytics tracking plan and picking the right tools for your project.
Assuming you have product analytics set up then you will need to connect your feature flag manager to your product analytics tool.
Let's say you're using Optimizely Rollouts to manage your features and Mixpanel to track product analytics. When a user logs in, Rollouts will send your app information about which experimental bucket they are in. You should take this information and send it to Mixpanel as a profile property on that user. This lets you segment all the users in each variant of your experiment.
Let's say your experiment is based on improvements to the onboarding copy. You are measuring success by how many people continue to use the app 30 days after they sign up. Now you can segment users in Mixpanel to see if the original of your modified copy led to more people being retained at 30 days.
One last step in this process is knowing when to call an experiment.
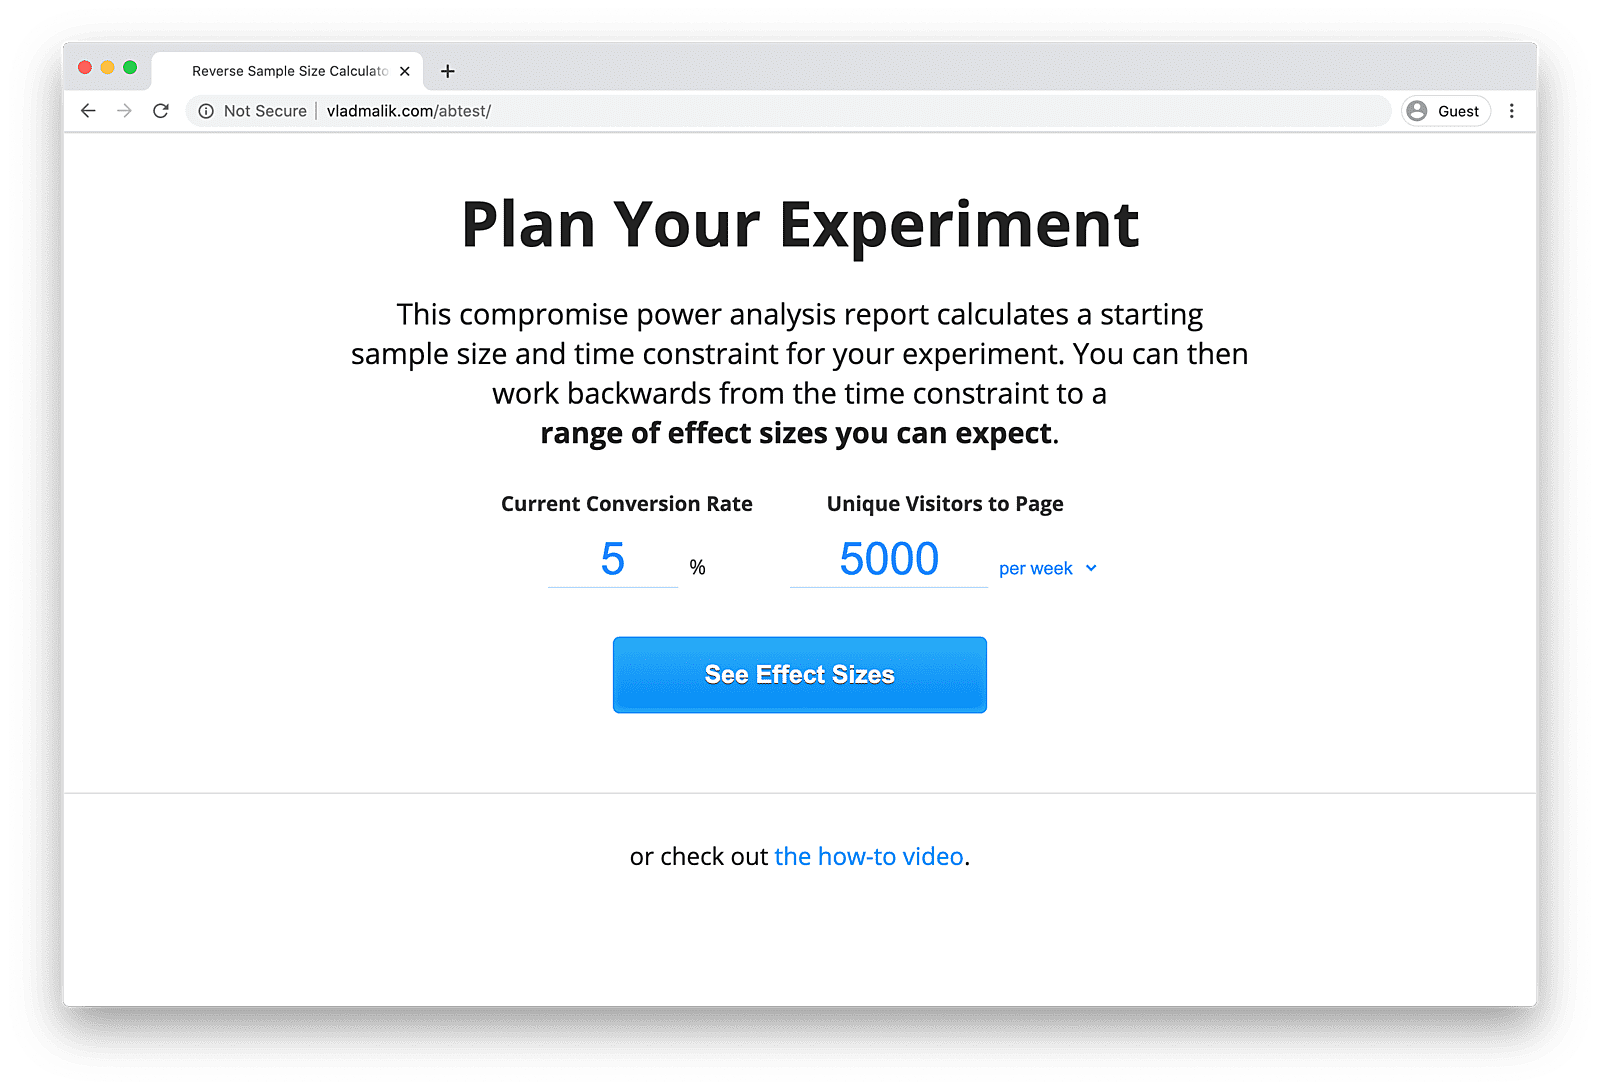
I will spare you the statistical significance talk. Instead, we're going to use a sample size calculator. I’ve gone out and tried to find the simplest one I could. The one I landed on is Vlad Malik’s Reverse Sample Size Calculator (there's a link to it in the footer).
There are only two inputs:
- Your current conversion rate. So in the onboarding example above, this would be the percentage of people that continued to use the app 30 days after signing up (within a given timeframe).
- How many new users you currently get each week or month.
Plug the details in and it will tell you how many new users you will need to run a reliable test and how long you need to run the test for.
If you stop your test early you probably haven’t achieved the outcome you think you have.
This is important to understand. Let’s say you have two dice and you want to check if one is weighted. You roll both dice 10 times. One die seems to be random, the other lands on 3 for more than half of the rolls.
Stop now and you will think one die is heavily weighted. The reality is that 10 rolls is just not enough data for a meaningful conclusion. The chance of false positives is too high with such a small sample size. If you keep rolling, you will see that the dice are both balanced and there is no statistically significant difference between them.
The best way to avoid this problem is to decide on your sample size in advance and wait until the experiment is over before you start believing the results.
So there you have it. How to set up and run a product experiment test in a web-based SaaS product without using enterprise testing tools. I specify web-based because mobile apps have their own set of tools, and I haven't gone down that rabbit hole yet.
Links to stuff I mentioned
- Heap product analytics https://heap.io
- You can find Vlad's reverse sample size calculator here http://vladmalik.com/abtest/
- If you need help deciphering what a lot of the other information on the calculator's results page means I explain it here https://blog.joshpitzalis.com/duration
These Hey posts are thoughts-in-progress, they're meant to be conversational. Let me know what you think. Replies to this email go straight to my inbox.

